Capturing the thrill of kayaking—from scenic paddles to epic fish catches—requires more than just a waterproof camera. You also need a reliable camera mount designed for the kayak environment. A good kayak camera mount keeps your device stable, secure, and perfectly positioned so you can focus on paddling or fishing without worrying about losing your gear.
In this guide, we’ll break down the key factors to consider and help you find the best mount for your kayaking adventures.
Understand Your Camera Type and Mount Compatibility
Action Cameras vs. Smartphones vs. DSLRs
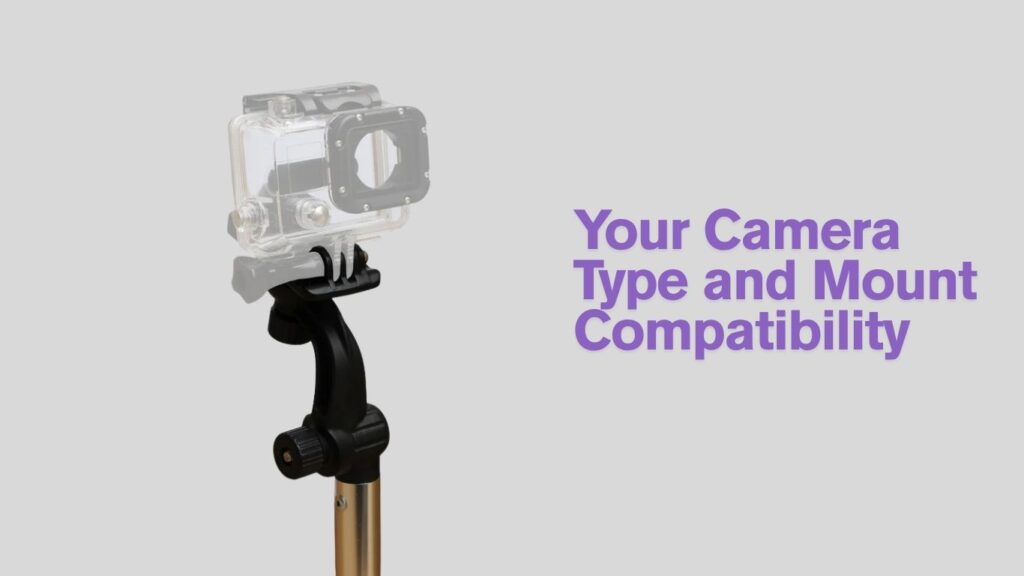
Start by identifying the type of camera you plan to use. Action cameras like GoPro and DJI Osmo are the most popular for kayaking due to their compact size and waterproof capabilities. If you’re planning to use a smartphone, make sure the mount includes a waterproof housing and adjustable grips. DSLR users need heavy-duty mounts, which aren’t common on kayaks due to weight and size, but suction or rail mounts with gimbal heads can work on stable sit-on-top models.
Mounting Compatibility
Different camera mounts are built for different devices. For example:
- GoPro-style mounts use a 3-prong system.
- Smartphones need adjustable clamps or cages.
- Universal tripod mounts use 1/4″-20 screws.
Always check your camera’s base before buying a mount. Many action cameras also support adapter kits if your mount doesn’t match natively.
Decide Where You Want to Mount the Camera
Popular Mounting Positions on a Kayak
- Bow Mount (Front Deck): Great for forward-facing paddling or fishing shots.
- Stern Mount (Rear Deck): Ideal for wide action or group paddling perspectives.
- Side Rail/Track Mount: Perfect for mounting close to your seating area, with better control over angle and access.
- Hat or Chest Mount (Body-Worn): Offers immersive POV footage and moves with your body.
The position you choose affects not only what the camera captures but also how easy it is to reach, adjust, or protect from splashes.
Look for Mounting Mechanism Options
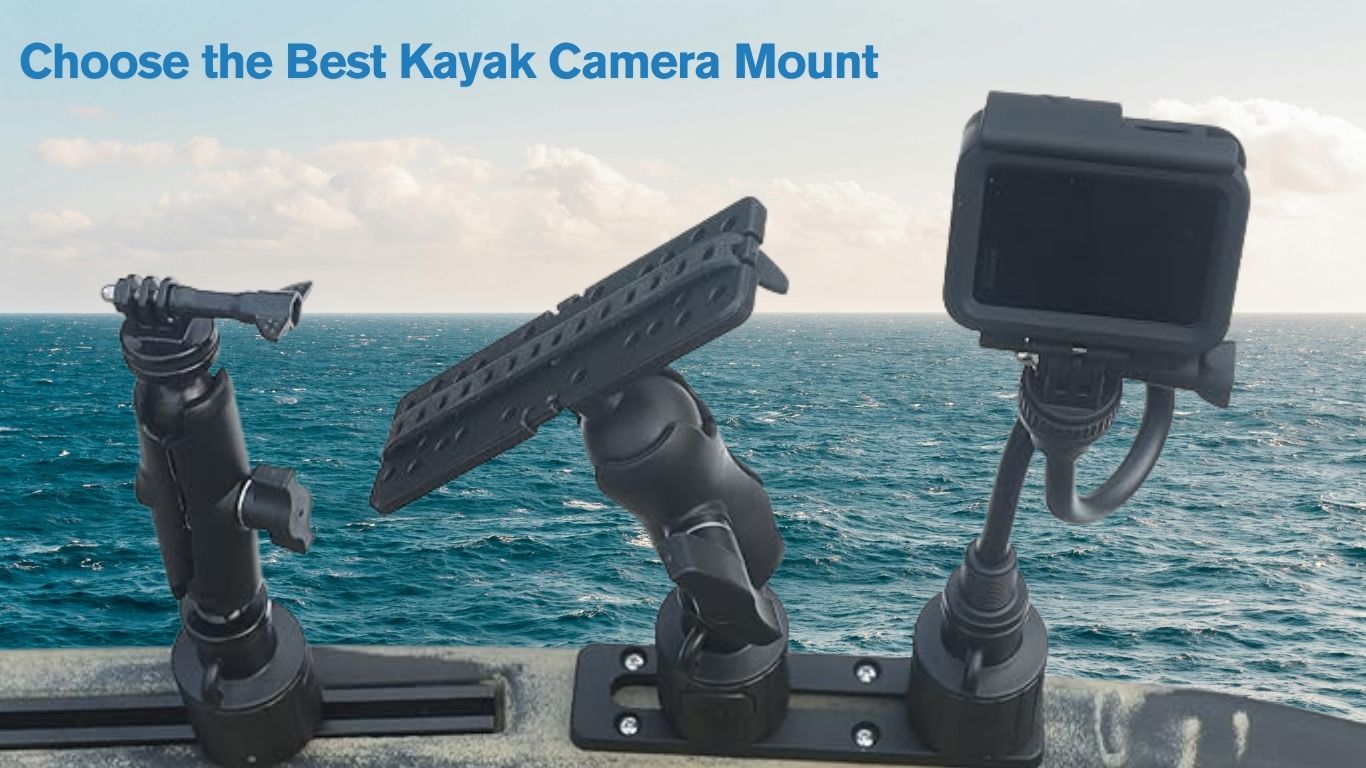
Track Mounts (Gear Tracks)
These mounts slide into the gear track rails found on many fishing kayaks. They’re stable, allow angle adjustment, and require no drilling. Great for modular setups where you might switch between rod holders and electronics.
Suction Cup Mounts
Ideal for smooth surfaces like hardshell kayak decks. Easy to install and reposition, but can fail if dirt, water, or curve affects suction. Better suited for short-term use.
Clamp Mounts
Clamp onto kayak edges, crate tubes, or even paddle holders. Offer flexible positioning but need a secure grip area. Watch for slippage on wet or rounded surfaces.
Drill-Mounted Bases
For permanent setups, these mounts screw directly into the kayak body. Extremely secure, but less versatile and not ideal for rentals or shared kayaks.
Consider Adjustability and Viewing Angles
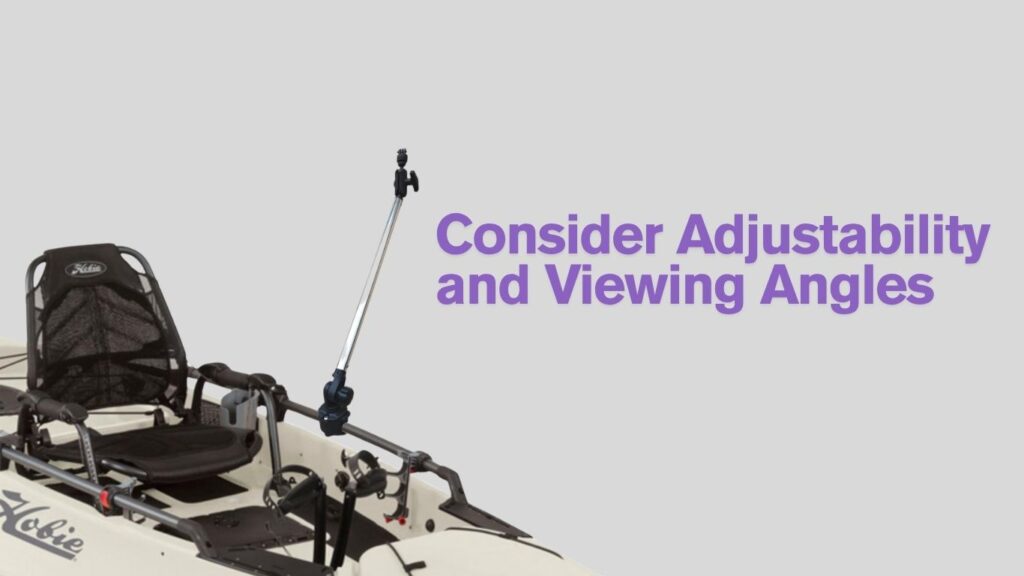
A good kayak camera mount should offer full adjustability—vertical tilt, horizontal rotation, and angle locking. This helps capture different shots like forward-facing paddling, selfie view, underwater action, or over-the-shoulder perspectives.
Look for:
- Ball-head joints for 360° rotation
- Telescoping arms for overhead or extended shots
- Swivel bases for quick angle changes during filming
Stiff, non-adjustable mounts may limit your creativity or require constant repositioning.
Stability and Vibration Resistance
Water movement, paddling, and wind all contribute to kayak instability. Choose a mount that minimizes shake and delivers stable footage.
- Rubber-padded bases reduce vibration
- Low-profile designs handle splashes better and catch less wind
- Secure locking mechanisms prevent wobble or unwanted movement
If you’re filming in rough water or while fishing, a stable mount is critical for usable footage.
Build Quality and Material
Since your mount will face sun, saltwater, rain, and impacts, build quality matters.
- Marine-grade aluminum or stainless steel is best for corrosion resistance
- Reinforced ABS plastic is lightweight but tough
- UV-resistant coatings prevent sun damage and fading over time
Avoid mounts with exposed metal springs or poor seals—they rust fast and may fail mid-trip.
Waterproofing and Safety Features
While the mount itself may not need to be waterproof, it should not trap or channel water toward your camera. Some mounts come with splash shields, tethering points, or floatable bases.
Always use a safety tether for expensive cameras—even the best mount can fail if hit hard or submerged. If you’re using a phone, double-protect it with a waterproof case or dry bag setup.
Weight and Portability
For kayak touring or minimalist setups, weight and ease of use matter. A compact, foldable mount is easy to stow when not in use. Telescoping poles with camera heads are great if you want options but don’t want to drill or carry extra gear.
Also consider quick-release features so you can detach the camera without removing the whole mount.
Price vs. Performance
Basic camera mounts start at under $20, while professional setups can cost over $100. Think about your goals:
- Casual paddlers or vloggers can go with mid-range action camera mounts ($30–$50)
- Anglers or long-distance kayakers may need durable, multi-device setups ($60–$100+)
- DIY solutions (PVC + suction + adapters) can work if you’re on a tight budget but may not last long
The best value lies in mounts that offer durability, adjustability, and secure locking without compromising weight or ease of use.
Final Thoughts
Choosing the best kayak camera mount comes down to knowing your gear, understanding your paddling style, and deciding how much effort you want to invest in capturing your adventures. Whether you’re filming for YouTube, documenting a big catch, or simply sharing memories with friends, a solid mount ensures your footage is safe, clear, and shake-free.