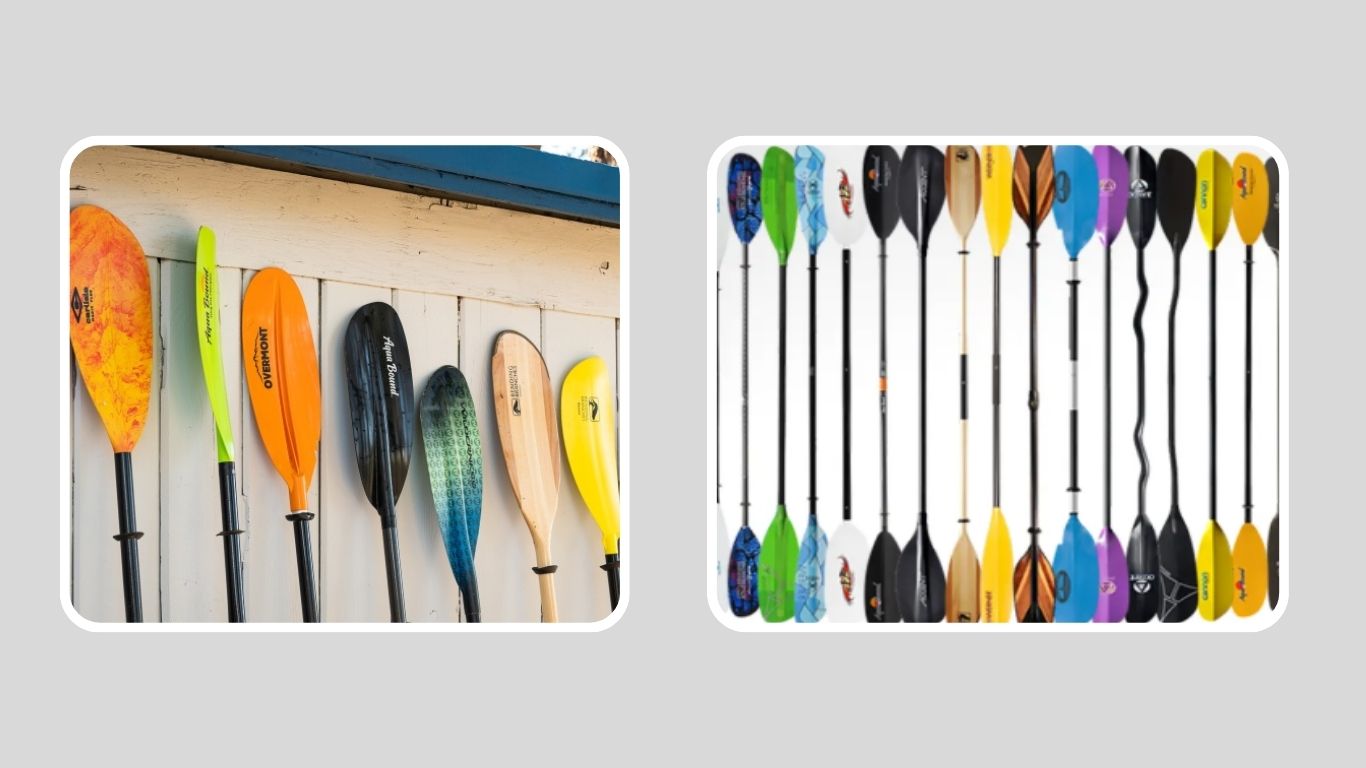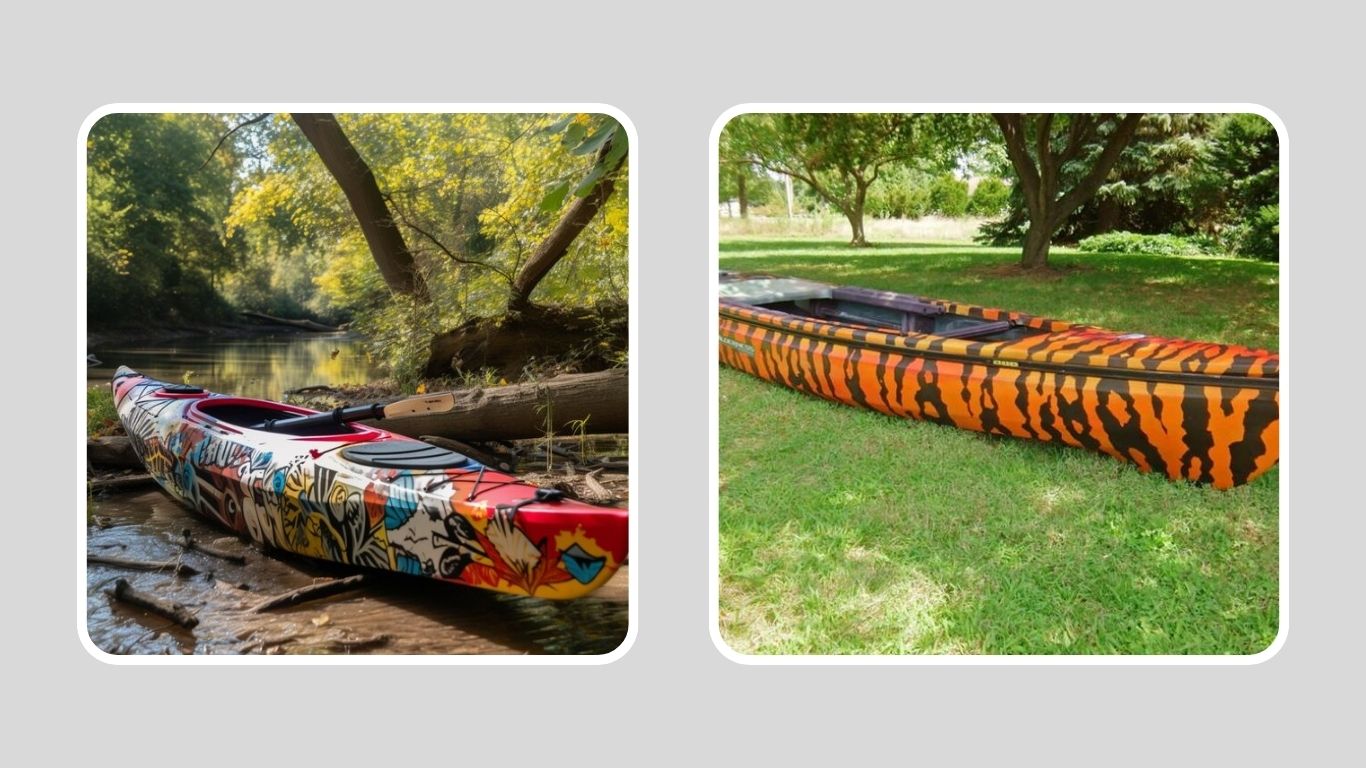
Painting a kayak is a great way to give your boat a fresh look, cover up scratches, or make it stand out on the water. Many paddlers wonder if it’s even possible to paint a kayak and what kind of paint works. The good news is, yes, you can paint a kayak, but it requires the right materials and preparation. In this guide, we’ll explore the best paints, methods, and tips to help you customize your kayak safely and effectively.
Why Paint a Kayak?
There are many reasons why someone might want to paint their kayak. One of the most common is customization. Many paddlers enjoy giving their kayak a unique look with bright colors, patterns, or even camouflage designs for fishing. A custom paint job makes your boat stand out and reflect your personality on the water.
Another reason is restoration. Over time, kayaks can get scratched, faded, or worn down from sunlight, saltwater, or rough handling. Painting is an affordable way to bring back its fresh look and cover up old marks or damage. Instead of buying a new kayak, a paint job can make your current one look almost brand new.
Painting can also offer protection. The right kind of paint adds an extra layer against UV rays, saltwater corrosion, and general wear. This can help extend the lifespan of your kayak, especially if you use it often in tough conditions.
Another practical reason is safety and visibility. Bright colors like orange, yellow, or neon green make it easier for others to see you on the water, which is especially important in open seas or busy lakes where boat traffic is common. On the other hand, some anglers prefer darker or camouflage paint so they can blend in with natural surroundings while fishing.
Finally, painting a kayak can even increase its resale value. A kayak that looks well-maintained and fresh is more appealing to potential buyers. Even if the boat is older, a neat paint job can make it stand out in the used market.
Can You Paint All Types of Kayaks?

Not every kayak is the same, and the type of material your kayak is made from affects how well paint will stick. Before grabbing a brush or spray can, it’s important to understand what kind of kayak you own and whether painting it is a good idea.
Most recreational and fishing kayaks are made from polyethylene plastic. This material is tough and durable but also very smooth, which makes it difficult for paint to bond properly. It is possible to paint a plastic kayak, but it requires special preparation, such as sanding and using a primer that promotes adhesion. Without these steps, the paint may peel off quickly after a few uses in the water.
Fiberglass kayaks, on the other hand, are much easier to paint. The surface naturally holds coatings better, and with the right marine-grade paint, you can achieve a smooth, long-lasting finish. Fiberglass kayaks are often found in sea kayaking or touring models, making them good candidates for repainting.
If you own a wooden kayak, painting or varnishing is not only possible but sometimes necessary. Wood needs protection from water damage, so using marine epoxy, varnish, or high-quality marine paint is a common practice. This not only makes the kayak look beautiful but also protects the wood from rotting.
When it comes to inflatable kayaks, painting is usually not recommended. These are made from materials like PVC, vinyl, or rubber, and paint does not stick well to flexible surfaces. Even if you manage to paint it, the constant folding, inflating, and deflating will cause the paint to crack or peel. If you want to change the look of an inflatable, vinyl decals or wraps are a better choice.
Finally, there are composite kayaks made from materials such as Kevlar or carbon fiber. These can be painted, but the process requires care. Using lightweight, durable marine paint is essential to avoid adding unnecessary weight or weakening the material.
In short, yes, you can paint most kayaks, but the ease and results depend heavily on the kayak’s material. Plastic and inflatables are the most challenging, while fiberglass and wood are much more straightforward to repaint.
Choosing the Right Paint for a Kayak
Picking the right paint is one of the most important steps in making sure your kayak looks good and stays that way. Not all paints will stick to kayak surfaces, and some may even crack or peel after only a few trips on the water. To get the best results, you need paint that is durable, waterproof, and safe for use in outdoor conditions.
One of the best options is marine-grade paint. This type of paint is specially designed for boats and other watercraft. It is highly durable, resistant to saltwater, and offers UV protection to prevent fading from the sun. Marine paints are often more expensive than regular paints, but they provide a long-lasting finish that can handle tough conditions.
Another good choice is epoxy paint. Epoxy is known for its strong bonding ability and works especially well on fiberglass or wooden kayaks. It creates a hard, smooth surface that resists scratches and water damage. However, epoxy paint can be a little tricky to apply and often needs a clear coat for extra protection.
Acrylic paint is also an option, especially for quick and easy designs. While acrylic can be used on a kayak, it is not as durable on its own. To make it last, you’ll need to apply a protective clear coat or sealer on top. Acrylic paints are good for detailed artwork or small touch-ups, but they may not survive heavy use without extra protection.
For plastic kayaks, polyurethane paint is often recommended. This type of paint is flexible, strong, and sticks better to polyethylene surfaces when used with the right primer. Polyurethane also has a nice glossy finish, making the kayak look fresh and new.
When deciding between spray paint and brush-on paint, both methods have pros and cons. Spray paint allows for smooth, even coats and is great for covering large areas quickly. It also makes it easier to add patterns or stencils. However, spray paint requires careful masking and should always be applied in a ventilated area. Brush-on or roller paint takes longer but allows for more control and thicker layers. It’s also easier to work with when doing touch-ups or painting small sections.
No matter what type of paint you choose, always make sure it is non-toxic and water-safe. Since kayaks are used in lakes, rivers, and oceans, harmful chemicals can leak into the water and affect wildlife. Choosing eco-friendly options ensures that your kayak looks great while keeping the environment safe.
Tools and Materials You’ll Need
Before you start painting a kayak, it’s important to gather the right tools and materials. Having everything ready will make the process smoother and help you achieve better results. Painting a kayak isn’t just about applying color; it’s about preparing the surface, protecting certain areas, and sealing the finish so it lasts for years.
One of the most important items is sandpaper. Since kayaks often have smooth, slippery surfaces, sanding helps create a rough texture that allows the paint to stick. Using medium-grit sandpaper (around 120–220 grit) is usually enough to scuff the surface without damaging it.
You’ll also need a cleaning solution to remove dirt, grease, and old residue. Simple soap and water can work for general cleaning, but rubbing alcohol or acetone is better for wiping down the kayak before painting. A clean surface is key to preventing the paint from peeling.
To protect parts of the kayak that you don’t want to paint, like seats, handles, or logos, painter’s tape and plastic sheeting are essential. Masking these areas ensures you get clean edges and don’t accidentally paint over important fittings.
When it comes to applying paint, you’ll need paintbrushes, small rollers, or a spray gun, depending on the method you choose. Spray cans are great for quick, even coats, while rollers are better for larger flat areas. Brushes are handy for detail work or touch-ups.
A good primer is also important, especially for plastic kayaks. Plastic adhesion primers help paint bond more effectively to polyethylene, which is normally hard to coat. For fiberglass or wooden kayaks, a marine primer will provide the best base layer.
Finally, don’t forget a clear coat or sealer. This adds durability, protects against UV rays, and keeps the paint from chipping or fading too quickly. A clear coat is especially important if you use acrylic or spray paints.
For safety, make sure you have protective gear such as gloves, goggles, and a face mask. Paint fumes can be harmful, so working in a ventilated area with proper protection is necessary.
By gathering these tools and materials before you begin, you’ll be prepared to give your kayak a smooth, professional-looking paint job that lasts.
Step-by-Step Guide: How to Paint a Kayak
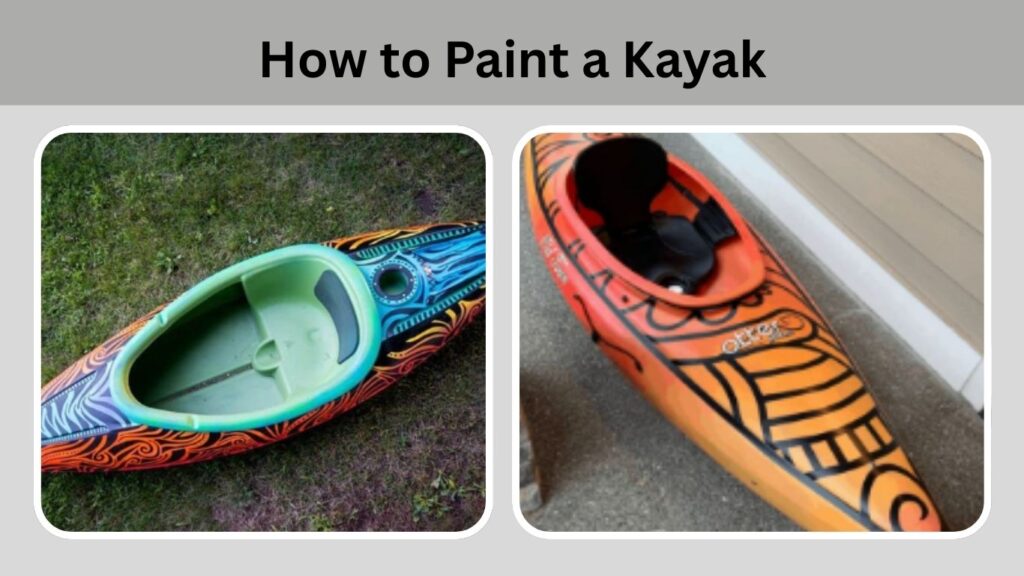
Painting a kayak might sound tricky, but if you take it step by step, it becomes a manageable project. The key is patience and proper preparation. Below is a full guide that walks you through each stage of painting your kayak.
Step 1: Preparation
Before any paint touches the kayak, it needs to be cleaned thoroughly. Use soap and water to wash away dirt, mud, or salt residue. After rinsing, dry the kayak completely. For stubborn grease or sticky patches, wipe the surface with rubbing alcohol or acetone. A clean kayak ensures the paint will stick properly and not peel off later.
Step 2: Sanding
Once the kayak is clean, it’s time to sand the surface. Sanding removes the glossy finish and creates a slightly rough texture that helps the primer and paint bond better. For plastic kayaks, use medium-grit sandpaper (around 120–220 grit) and lightly scuff the surface. For fiberglass or wood, sanding should be smoother to avoid scratching the material too deeply. Wipe away dust after sanding.
Step 3: Masking
Next, cover up any parts of the kayak you don’t want painted. This includes handles, seats, footrests, logos, or areas with stickers you want to keep. Use painter’s tape for clean edges and plastic sheets or old newspapers to cover larger sections. Masking is important for giving the kayak a neat, professional look.
Step 4: Priming
Now it’s time to apply primer. For plastic kayaks, use an adhesion promoter or plastic primer, which helps paint grip to the slick surface. For fiberglass and wooden kayaks, a marine primer is the best choice. Apply primer in thin, even coats, and let it dry completely before moving to the next step. Skipping primer often results in paint peeling or chipping quickly.
Step 5: Painting
This is the fun part, adding color. You can use spray paint, a roller, or brushes, depending on your preference. If using spray paint, hold the can about 8–12 inches away and apply thin, even layers. Don’t try to cover everything in one coat; instead, apply multiple light coats, letting each one dry before adding the next. If using a roller or brush, use long, smooth strokes to avoid streaks. At this stage, you can also get creative with stencils, patterns, or camouflage designs to personalize your kayak.
Step 6: Sealing and Finishing
Once the paint is fully dry, apply a clear coat or sealant to protect your work. A marine-grade clear coat will shield the kayak from UV rays, scratches, and water damage. Like the paint, apply thin layers and allow each coat to dry before adding another. Usually, two or three coats are enough for durability.
Step 7: Drying and Curing
After the final clear coat, let the kayak dry completely. Depending on the paint and weather conditions, curing can take anywhere from 24 hours to several days. Avoid rushing this step; putting the kayak in the water too soon can ruin the finish. Once it’s fully cured, your kayak will be ready to hit the water with a brand-new look.
By following these steps carefully, you can transform an old or plain kayak into something fresh, vibrant, and personalized.
Tips for Painting a Kayak Successfully
Painting a kayak takes time and effort, but a few smart tips can make the process easier and give you better results. The first rule is to always apply thin coats instead of one heavy coat. Thick paint can drip, crack, or take too long to dry, while thin layers build up a smooth, even finish that lasts longer. Patience is key; allow each coat to dry fully before adding the next.
Another useful tip is to work in a well-ventilated area. Whether you’re spraying or brushing paint, good airflow helps the paint dry properly and keeps you safe from fumes. Outdoor spaces, garages with open doors, or shaded patios are usually the best places to work. Avoid painting in closed, poorly ventilated rooms.
Weather conditions also matter. Painting on a windy day can cause dust or dirt to stick to the wet surface, ruining the finish. Humidity and rain can also prevent the paint from drying correctly. Ideally, choose a dry day with mild temperatures for the best results.
When picking colors, think about both style and function. Bright colors like yellow, orange, or neon green make your kayak highly visible in open water, which is safer if you’re paddling in busy areas. On the other hand, anglers often prefer darker tones or camouflage designs to blend in with their surroundings while fishing. Choosing the right color can balance both safety and personal taste.
Another important point is to avoid painting the hull bottom, the part of the kayak that sits in the water. Paint on this area often wears off quickly due to constant friction with sand, rocks, and water. It can also slightly affect the kayak’s performance. Instead, focus on painting the sides, top, and deck.
Finally, don’t forget to seal your work with a clear coat. Even if the paint looks perfect, a protective top layer will help it withstand sunlight, water exposure, and scratches. This simple step can double the lifespan of your paint job.
By following these tips, you’ll save time, avoid frustration, and end up with a kayak that looks great and holds its color for many adventures ahead.
Common Mistakes to Avoid
While painting a kayak can be fun and rewarding, many beginners run into problems because they skip important steps or use the wrong methods. Knowing the most common mistakes ahead of time can save you from frustration and wasted effort.
One of the biggest mistakes is not sanding the surface enough. Kayaks are usually made from smooth plastic or fiberglass, which makes it hard for paint to stick. If you don’t sand properly, the paint will likely peel or flake off after only a few trips on the water. Lightly scuffing the kayak with medium-grit sandpaper helps create the texture needed for strong adhesion.
Another common error is using the wrong type of paint. Household paints or cheap spray paints may look fine at first, but they won’t hold up against water, sunlight, or constant movement. Over time, they will crack, fade, or wash off. Always choose marine-grade, epoxy, or polyurethane paints designed for outdoor and water use.
Skipping the primer step is another mistake to avoid. Primer helps the paint bond to the kayak’s surface and increases durability. Without primer, even good-quality paint may not last long, especially on plastic kayaks, where adhesion is already difficult.
Many people also paint in poor conditions, such as when it’s too windy, humid, or cold. This can cause uneven layers, dust sticking to wet paint, or longer drying times. Always paint in calm, dry weather to achieve a smooth, professional finish.
Another mistake is forgetting the clear coat. Even if the paint looks perfect after application, it needs a protective sealer to stand up against UV rays, scratches, and water exposure. Without this final step, the paint will fade and wear out much faster.
Lastly, some people try to paint the entire kayak, including the bottom hull. This is not recommended because the constant rubbing against sand, rocks, and water will quickly wear the paint away. It can also slightly change how the kayak glides in the water. Instead, focus on the sides, deck, and visible areas where paint will last longer and look better.
By avoiding these common mistakes, you’ll save yourself time and effort while ensuring your kayak’s paint job is durable, attractive, and ready for the water.
Safety Considerations
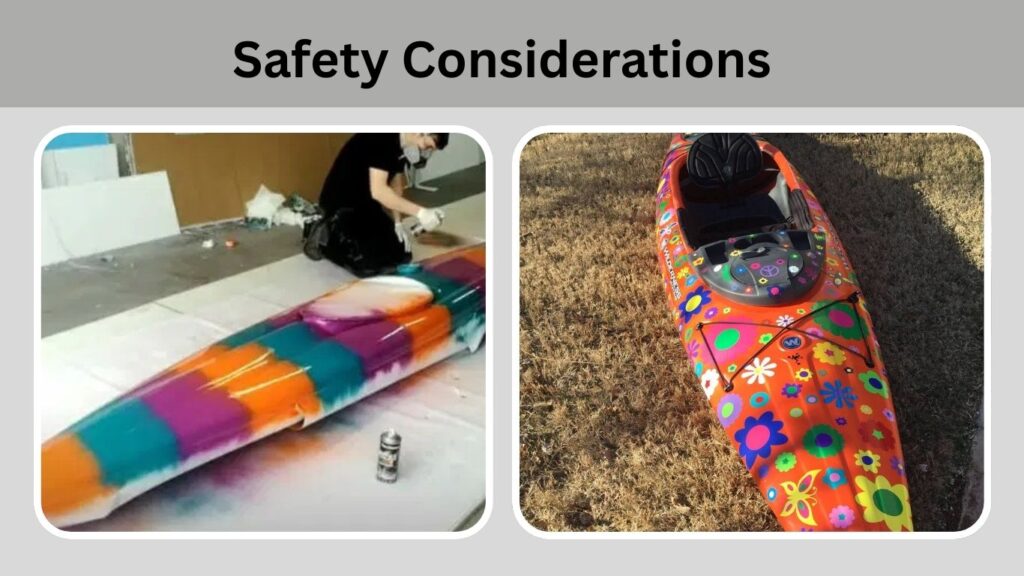
When painting a kayak, safety should always come first. Paints, primers, and sealers often contain chemicals that can be harmful if inhaled or if they come into contact with your skin. That’s why wearing the right protective gear is essential. A face mask or respirator helps protect your lungs from fumes, while gloves keep your hands safe from chemicals. Safety goggles are also a good idea to protect your eyes, especially if you’re using spray paint.
It’s also important to choose a well-ventilated area for your project. Painting indoors without good airflow can quickly fill the room with strong fumes, which can make you dizzy or cause headaches. Whenever possible, paint outdoors or in a garage with the doors wide open. If you must paint indoors, make sure there are fans or open windows to keep fresh air moving.
Another key safety factor is to store and handle materials properly. Keep paint cans, solvents, and sealers away from children and pets. Make sure containers are sealed tightly when not in use, and store them in a cool, dry place away from direct sunlight or open flames.
Environmental safety is also worth considering. Since your kayak will be used in water, always make sure the paints and coatings you use are non-toxic and water-safe. Avoid using paints that can release harmful chemicals into lakes, rivers, or oceans, as these can damage marine life and ecosystems. Choosing eco-friendly options helps protect the places where you enjoy kayaking.
Alternatives to Painting a Kayak
Painting is a popular way to refresh or customize a kayak, but it’s not the only option. In fact, some alternatives can be easier, faster, and even longer-lasting than paint. If you’re unsure about painting or want a different approach, here are a few good options to consider.
One of the most common alternatives is kayak wraps or vinyl decals. These work like large stickers that cover the kayak’s surface. Vinyl wraps come in many colors and patterns, including camouflage, bright safety colors, or even custom designs. The best part is that they can be removed or replaced without damaging the kayak. They also last longer than most paint jobs since they don’t peel or fade as quickly when applied correctly.
Another creative option is hydro dipping. This technique involves dipping the kayak (or parts of it) into water that has paint floating on the surface. The paint clings to the kayak in unique, swirling patterns, giving it a one-of-a-kind look. Hydro dipping takes practice and special setup, but the results can be stunning.
For those who just want to personalize their kayak quickly, stickers and decals are the easiest choices. They’re affordable, easy to apply, and can be swapped out anytime. While stickers don’t cover the whole kayak like paint or vinyl wraps, they’re perfect for adding names, logos, or fun designs.
If you’re more concerned about protection than looks, you can also use protective coatings instead of paint. UV sprays, marine waxes, and clear sealants won’t change the kayak’s color but will help protect it from sun damage and scratches. This is a great option if your kayak already looks good but needs extra durability for long-term use.
Each of these alternatives has its benefits. Wraps and decals are best for customization, hydro dipping is great for artistic designs, and protective coatings are ideal for extending the kayak’s lifespan without altering its natural look. Depending on your goals, one of these methods may be a better choice than painting.
Finally, remember to work patiently and carefully. Rushing the process can lead to accidents, spills, or sloppy paint jobs. Taking your time not only keeps you safe but also ensures your kayak looks great when you’re done.
By following these safety precautions, you can complete your kayak painting project without risks to yourself, others, or the environment.
Final Thoughts
Yes, you can paint a kayak, but success depends on proper prep, using the right paint, and applying it correctly. A good paint job can restore an old kayak, protect it from UV rays and scratches, or make it more visible for safety. Anglers may prefer camouflage, while casual paddlers can showcase creativity with bold designs or colors. Painting takes time—cleaning, sanding, priming, and sealing are essential for lasting results. If that feels overwhelming, alternatives like vinyl wraps or decals offer easier customization.