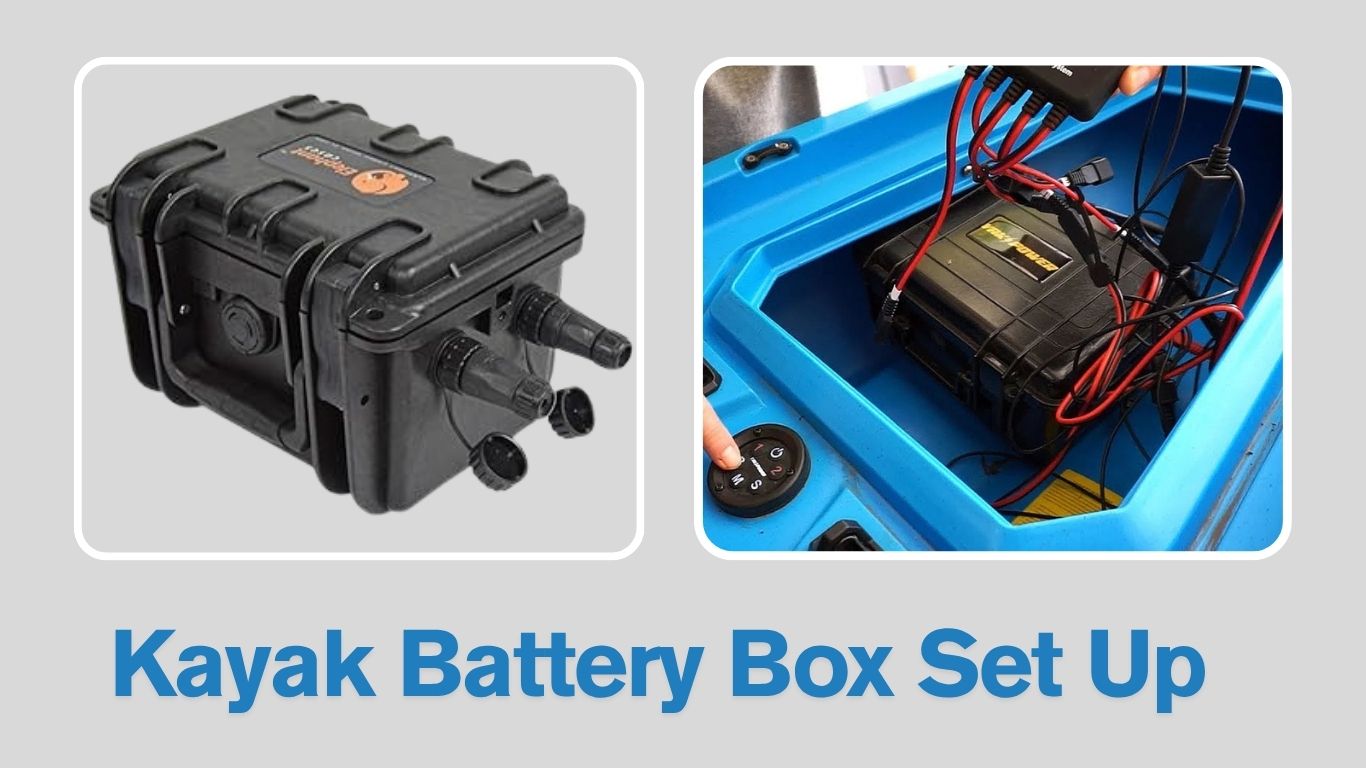
Out on the water, having a reliable power source can make your kayaking trip smoother and more enjoyable—especially if you use a fish finder, LED lights, or a bilge pump. That’s where a kayak battery box comes in. It’s a waterproof, organized, and safe way to power your devices without risking damage to your battery or cluttering your kayak with loose wires. In this guide, you’ll learn everything you need to build and install a custom kayak battery box step-by-step.
Why You Need a Battery Box for Your Kayak
If you’re using electronics on your kayak, simply placing a bare battery in the hull isn’t safe or efficient. A battery box is more than just a container—it’s a smart solution to protect your equipment and streamline your setup.
Protects Your Battery from Water and Damage
Kayaks are constantly exposed to water splashes, rain, or even tipping. A sealed battery box shields your power supply from moisture, corrosion, and impact, helping it last longer.
Keeps Wiring Organized and Safe
Loose wires can tangle, get damaged, or cause shorts. A battery box keeps everything contained, with connectors, fuses, and wires neatly arranged inside or through waterproof ports.
Enables Multi-Device Powering (Fish Finder, Lights, etc.)
Want to use more than just a fish finder? A battery box lets you power multiple devices—like navigation lights, phone chargers, or even a small pump—through one centralized setup.
Choosing the Right Battery for Kayak Use
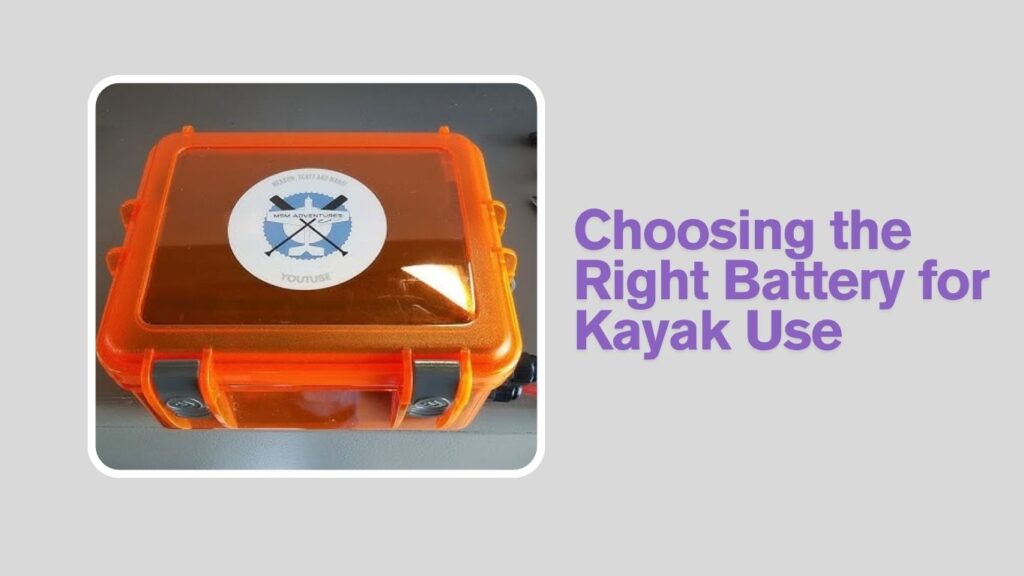
Selecting the proper battery is the foundation of building a dependable kayak battery box. The battery you choose affects the total weight, runtime, charging needs, and overall performance of your setup. Here’s what to consider:
Types of Batteries (Lithium vs AGM vs SLA)
Each battery type has pros and cons depending on your budget and needs:
- Lithium (LiFePO4):
Lightweight, long-lasting, fast-charging, and deep cycle capable. Ideal for serious kayak anglers, though more expensive. - AGM (Absorbed Glass Mat):
Sealed, maintenance-free, and good shock resistance. Heavier than lithium but more affordable. - SLA (Sealed Lead Acid):
Cheapest option, but heaviest. Suitable for short trips or light use. Shorter lifespan compared to others.
Pro Tip: Lithium batteries may cost more upfront, but their longer life and lighter weight often justify the investment.
Battery Capacity (Ah Rating)
Battery capacity is measured in amp-hours (Ah), which determines how long it will power your devices.
- Fish Finder Only: 7Ah to 10Ah is typically enough for a full day.
- Fish Finder + Lights/USB: Consider 12Ah to 20Ah or more.
- Heavy Use (multiple electronics): Go for 30Ah+ lithium for extended runtime.
You can calculate estimated runtime with:
Runtime (in hours) = Battery Ah ÷ Device Amp Draw
Example: A 10Ah battery powering a 1A fish finder = roughly 10 hours.
Voltage Considerations (12V Standard)
Most kayak electronics (fish finders, lights, GPS) are designed for 12-volt systems. Stick with a 12V battery unless your gear requires something else.
Important: Always match the battery voltage with the voltage rating of your device to avoid damage.
Tools and Materials Needed
Before building your kayak battery box, gather all the essential tools and parts. Using quality, marine-grade materials ensures long-term performance and safety on the water.
Essential Tools
- Cordless Drill & Bits – For drilling holes in the box for cables and mounts
- Screwdrivers (Philips and Flathead) – For assembling components and securing connectors
- Wire Strippers & Cutters – For prepping cables to length and exposing wire ends
- Soldering Iron or Crimping Tool (Optional) – For strong, reliable connections
- Silicone Sealant or Marine Adhesive – To seal holes and prevent water leaks
Core Materials
- Waterproof Battery Box – A durable container with a sealed lid; can be a modified ammo can or plastic utility box
- 12V Marine Battery – Lithium, AGM, or SLA based on your needs
- Inline Fuse Holder + Fuses – Protects your electronics from short circuits
- Waterproof Cable Glands or Rubber Grommets – For routing wires in/out of the box without water entry
- Marine-Grade Wire (14–16 gauge) – Corrosion-resistant wiring for safe electrical transfer
- SAE, Anderson, or Ring Terminal Connectors – Quick-connect options for powering devices
Optional Add-ons for Advanced Setups
- Switch Panel with USB/Voltmeter Ports – For controlling devices and monitoring voltage
- Battery Monitor – Tracks remaining power and usage
- LED Lights or Navigation Lights – For visibility during night kayaking
- Solar Charging Input – To charge on the go with a portable panel
- Velcro or Foam Padding – Keeps battery snug and absorbs vibration
Step-by-Step Guide to Setting Up the Battery Box
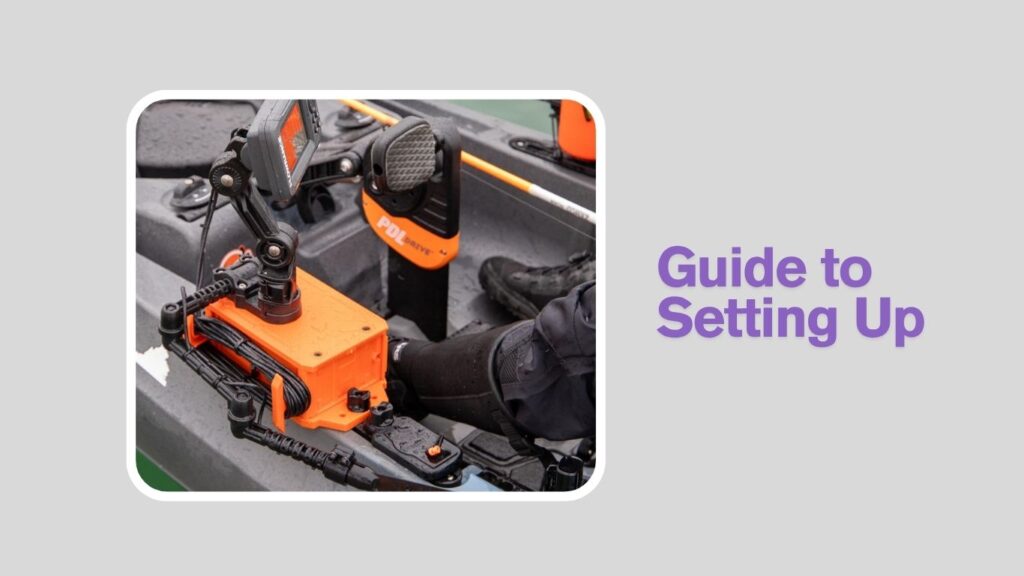
Now that you have your tools and materials ready, it’s time to build and set up your kayak battery box. Follow these steps carefully to ensure your system is safe, waterproof, and efficient.
Step 1: Drill Entry Points for Wires
Choose spots on your battery box (usually the side or top) to drill holes for your input/output cables.
- Use a drill bit that matches the size of your cable glands or rubber grommets.
- Smooth out the holes to avoid wire damage.
- Install the cable glands and tighten them to ensure a watertight seal.
Step 2: Install Power Connectors or Terminal Blocks
Decide how you want to connect devices to your battery. You can use:
- SAE plugs for quick-connect fish finders
- Anderson connectors for universal compatibility
- Ring terminals for direct wire-to-bolt connections
- Terminal blocks inside the box for multiple device wires
Step 3: Add Inline Fuse for Safety
Always install a fuse between the positive battery terminal and your device wiring.
- Use an inline fuse holder with a waterproof cap
- The fuse rating should match the amp draw of your device
- This protects against shorts, overloads, or accidental water intrusion
Step 4: Add Optional Features
If you’re upgrading your box, now’s the time to install:
- USB ports for phone charging
- 12V switch panel to toggle lights or accessories
- Battery voltage display to monitor charge levels
- LED light strip inside the box for nighttime visibility
Step 5: Seal and Waterproof Everything
Apply marine-grade silicone sealant around:
- Cable glands
- Drill holes
- External mounts
Let it dry completely before using the box. This is crucial for preventing water leaks and protecting electronics.
Step 6: Secure the Battery Inside
Use foam padding, Velcro straps, or brackets to keep the battery from moving during transport or rough water.
- The battery should be tight enough not to bounce
- Leave some space for airflow or maintenance access
Once complete, your battery box is ready to mount in the kayak or carry along as a portable power unit.
Connecting the Battery Box to Your Kayak Devices

Once your battery box is built and sealed, the next task is connecting it to your kayak electronics. This step depends on what devices you plan to power—such as a fish finder, LED navigation lights, or a bilge pump. Each device needs a secure and waterproof connection to the battery, along with proper voltage matching and fuse protection.
Fish Finder Connection
Most kayak anglers use a fish finder, making it the most common device to wire up. Start by checking the voltage requirements of your fish finder—almost all are compatible with a 12V system. You’ll then run the power cable through a cable gland and connect it to the output of your battery box using SAE plugs or terminal blocks. Be sure to insert a fuse in-line near the battery terminal. This prevents damage in case of a short circuit.
If your fish finder has a quick-disconnect cable, you can install a matching plug on the battery box for faster setup and removal. You should also consider weatherproofing the outside connection points with dielectric grease to prevent corrosion over time.
Navigation and LED Lights
LED lights and navigation lights add safety and visibility during early morning or night kayaking. These usually draw very low power but still require weatherproof wiring and switches for control. Mount a switch panel either inside the battery box or externally on your kayak deck. Connect the lights through the switch to the positive output of the battery. This way, you can easily turn them on or off without disconnecting cables.
Use marine-rated wiring for outdoor connections and route the cables carefully along the kayak body using clips or zip ties. Avoid exposed loops where wires might snag or wear out due to constant paddle movement.
Bilge Pump or Aerator Setup
If you’re using a bilge pump or livewell aerator, the setup is similar. These devices generally operate with 12V DC and require more power than lights but less than a fish finder. You can add a dedicated switch and fuse for these too. Mount the switch where it’s easily reachable while kayaking, especially in an emergency where you may need to pump out water quickly.
In larger kayak setups, some users use waterproof relays or control boxes that connect all devices to one master switch panel. This helps you avoid clutter and reduces the chance of electrical failure.
Safety and Maintenance Tips
Even a properly set up battery box requires regular inspection and care to stay safe and functional. Kayaking often involves bumpy travel, splashes, and extended sun exposure—all of which can affect your electronics.
Check for Water Intrusion and Corrosion
Open your box after every few trips and check for signs of moisture inside. Look for rust on terminals, green corrosion on wires, or any dampness near cable entry points. If moisture is present, re-seal with silicone and inspect the glands for tightness. Wipe down any residue and apply corrosion-resistant spray if needed.
Recharge Battery Regularly
Don’t let your battery sit unused for weeks without recharging. Lead acid and AGM batteries, in particular, can lose charge slowly and degrade if left drained. Charge after every trip, even if you didn’t use all the power. Lithium batteries are more resistant to discharge issues, but regular topping up is still good practice.
Proper Off-Season Storage
When storing your kayak battery box for winter or a long break, disconnect all wires and remove the battery. Store the battery in a cool, dry place away from direct sunlight or freezing temperatures. You can keep it on a trickle charger or charge it every 1–2 months to maintain its health.
Inspect and Replace Fuses Periodically
Fuses protect your gear, but they can weaken over time. Even if they haven’t blown, they may build up resistance. Check and replace them every few months, especially before a long kayaking trip. Always carry a few spare fuses in your tackle or dry bag.
Optional Upgrades for Power Users
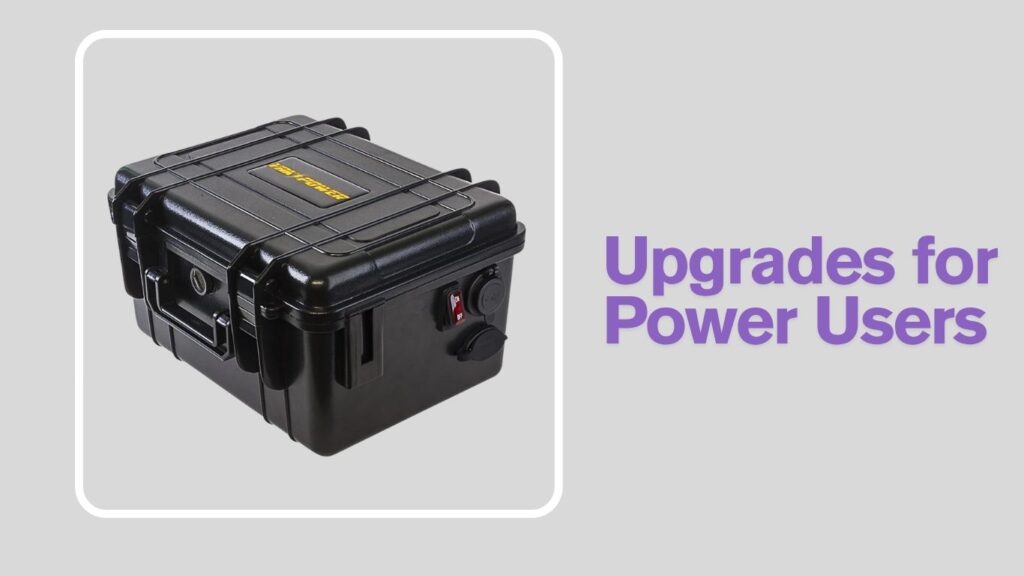
Once your basic battery box is running smoothly, there are several advanced features you can consider for added functionality and convenience.
Solar Charging Panel
You can install a solar panel with a built-in charge controller to top up your battery while you paddle or fish. This is especially useful for long trips or remote waters where shore power isn’t an option. Mount the panel on the kayak deck or on a flexible extension arm. The charge controller ensures you don’t overcharge or damage the battery.
Bluetooth Battery Monitor
A Bluetooth battery monitor connects to your phone and gives real-time updates about voltage, charge level, and usage stats. This is great for avoiding surprises, especially if you use multiple devices or a lithium battery that doesn’t drop voltage gradually.
Digital Voltmeter Display
If you prefer a simpler option, you can install a digital voltmeter on the battery box to monitor the power status. It gives you instant insight into when to recharge or troubleshoot any voltage drops.
FAQs
Can I use a car battery for my kayak setup?
It’s not recommended. Car batteries are too heavy and not designed for deep cycling. A marine or lithium battery is safer, lighter, and more suitable for kayak use.
How long will a 12V 10Ah battery last with a fish finder?
If your fish finder draws around 1 amp, a 10Ah battery should last approximately 10 hours. However, this depends on screen size, brightness, and extra features like GPS.
How do I waterproof the battery box completely?
Use a weatherproof case with a rubber gasket, waterproof cable glands, and seal all holes with marine-grade silicone. Avoid overstuffing the box to keep the lid tightly closed.
Is a lithium battery safe for kayak use?
Yes. Lithium iron phosphate (LiFePO4) batteries are safe, lightweight, and durable. Just ensure you use a compatible charger and store it properly during extreme heat or cold.
Can I mount the battery box inside a hatch?
Yes, many kayakers mount their battery boxes inside front or center hatches. Just ensure there’s enough ventilation and that wires are secured to prevent tugging or water damage.