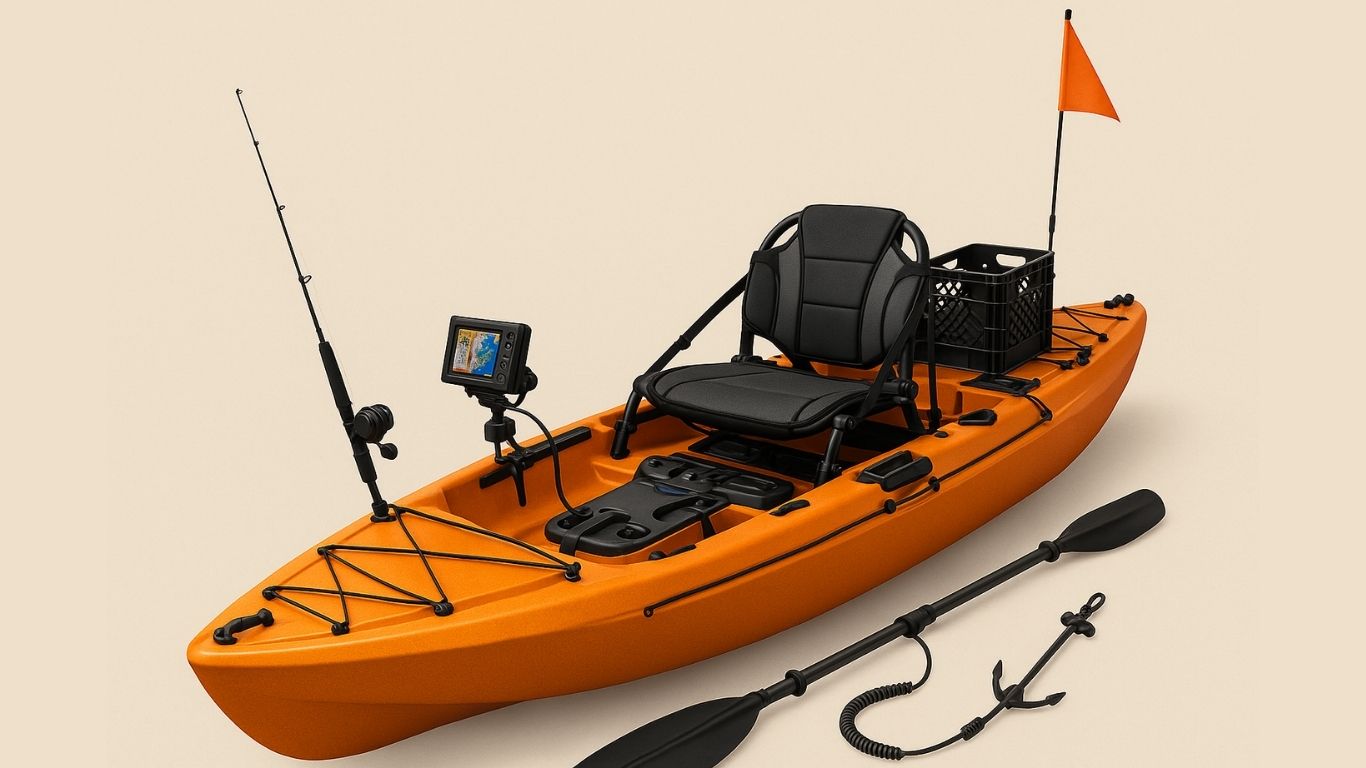
Getting your fishing kayak properly set up can transform your entire experience on the water. A good setup boosts your comfort, improves efficiency, and keeps your gear secure—whether you’re casting in freshwater lakes or drifting through coastal bays.
In this step-by-step guide, we’ll walk you through everything from selecting the right kayak to installing essential accessories, so you’re fully prepared before your next fishing trip.
1. Select the Right Fishing Kayak
Your entire setup starts with choosing the kayak that fits your fishing style and environment. A poor choice here can lead to instability, discomfort, or wasted storage space.
What to Consider:
Sit-on-Top vs Sit-In: Sit-on-top kayaks are ideal for fishing because they’re more stable, easier to enter/exit, and offer better gear access.
Pedal vs Paddle Drive: Pedal kayaks let you move hands-free, perfect for casting and trolling. Paddle kayaks are lighter and more affordable, but require both hands.
Weight Capacity: Add up your body weight, gear, and potential catch. Choose a kayak with at least 100–150 lbs extra capacity for safety.
Deck Layout & Storage: Look for wide, flat decks for standing and models with rear tank wells, front hatches, and gear tracks to mount accessories.
2. Install a Supportive and Elevated Seat
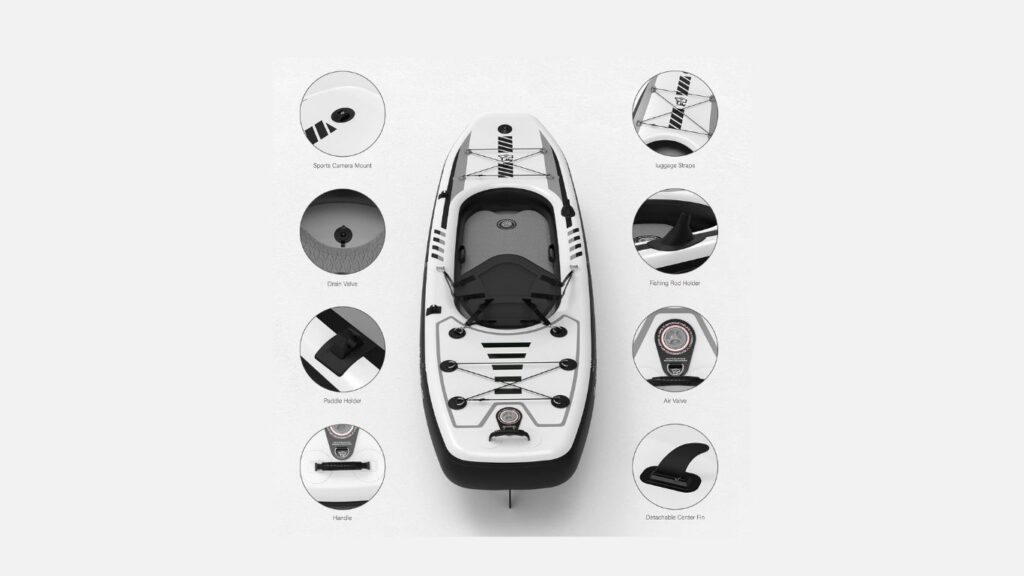
A well-fitted seat can be the difference between an enjoyable full-day trip and cutting your session short due to back pain or fatigue.
Key Features:
- Adjustable Frame Seats: These allow you to change height and reclining angle, giving you better visibility and casting comfort.
- Padded Comfort: A cushioned seat base and high back support are essential for long hours on the water.
- Seat Height: Elevated seats keep you dry, improve posture, and make it easier to stand up for sight fishing or stretching.
- Stable Mounting: Always secure your seat using the manufacturer’s brackets or straps to avoid sliding or shifting mid-paddle.
3. Add Rod Holders in Strategic Spots
Rod holders are more than just convenience—they’re essential for trolling, resting, and staying organized during your trip.
Setup Guidelines:
Types of Holders:
- Flush-Mount: Installed directly into the kayak, usually behind the seat. Great for secure storage and trolling.
- Adjustable/Swivel Holders: Mounted on gear tracks or bases. Allow custom positioning for casting or bait fishing.
Best Placement: Install holders where your rods are within arm’s reach but won’t interfere with paddling or reeling. Common spots include behind the seat and just forward of your thighs.
Installation Tips: Use waterproof marine sealant around drilled holes and stainless-steel hardware to prevent corrosion or leaks.
4. Set Up Tackle and Gear Storage
Staying organized on the water saves time and reduces frustration. A clutter-free deck also prevents lost gear and makes movement easier.
Smart Storage Solutions:
- Milk Crates or Kayak Crates: These fit perfectly in the rear tank well and can hold tackle boxes, tools, and even rod holders.
- Plano Boxes or Tackle Trays: Keep your lures, weights, and hooks sorted by type and size.
- Dry Bags and Boxes: Use these for valuables like keys, phones, wallets, or electronics. Make sure they’re 100% waterproof.
- Bungee Cord Systems: Many kayaks have bungee tie-downs for securing gear, but you can also customize your own for tighter control.
5. Install an Anchor and Trolley System
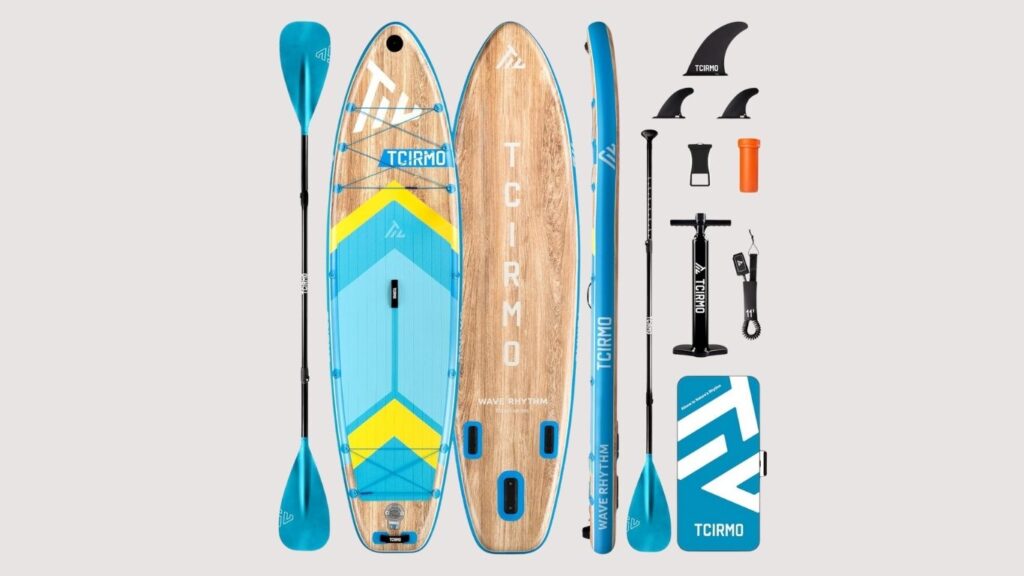
An anchor system helps you hold your position in wind or current, giving you better control over your fishing area. Adding a trolley lets you shift the anchor point easily from bow to stern.
Setup Recommendations:
Anchor Types:
- Grapnel Anchor: Good for rocky or weedy bottoms.
- Stakeout Poles: Ideal for shallow, calm waters.
- Drift Chutes: Slow your movement in windy or tidal areas.
Anchor Trolley: This is a line and pulley system that runs along one side of the kayak, allowing you to adjust the anchor angle.
Mounting Tips: Install pulleys near the bow and stern. Use pad eyes, rivets, and marine-grade hardware for durability.
6. Install a Fish Finder and Battery Setup
A fish finder adds serious value to your trip by helping you locate fish, understand bottom structure, and track depth or temperature. Setting it up correctly ensures accuracy and battery safety.
Key Components:
- Display Unit: Mount within view but out of your paddling path—often on a gear track near the seat.
- Transducer Mounting:
- Use a scupper hole mount if your kayak has one.
- Or mount externally with an arm bracket for flexibility.
- Use a scupper hole mount if your kayak has one.
- Power Source: Use a 12V sealed rechargeable battery. Keep it in a waterproof box with ventilation holes and secure it under your seat or in a hatch.
- Cable Management: Use clips or zip ties to prevent wires from tangling with your gear or feet.
7. Attach a Paddle or Pedal Leash
Losing your paddle or pedal drive mid-trip can ruin your day, especially in current or wind. A simple leash keeps your propulsion secure.
Setup Tips:
Paddle Leash: Connects your paddle to the kayak via a coiled cord or bungee. Attach one end to a D-ring or gear loop.
Pedal Leash: If using a pedal drive, tether it to a secure point with a short, strong cord.
DIY Option: Use paracord and a carabiner if you want a budget-friendly leash.
Avoid Tangles: Keep the leash short enough to stay out of your way while paddling or fishing.
8. Add Safety and Emergency Essentials
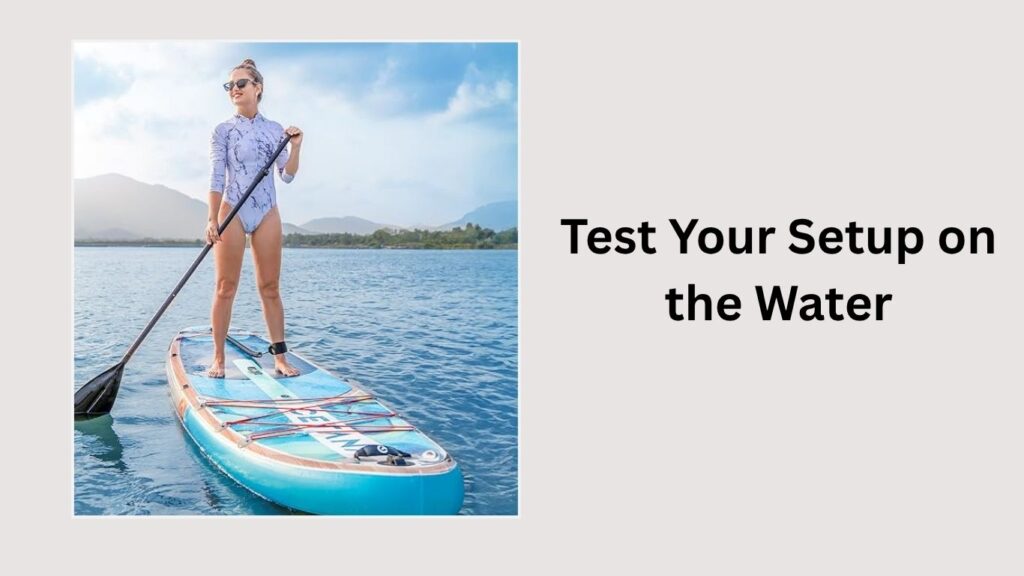
Safety gear isn’t optional—it’s your first line of defense if something goes wrong on the water.
Must-Have Items:
- PFD (Personal Flotation Device): Choose a U.S. Coast Guard-approved model designed for kayaking with high back support and multiple pockets.
- Whistle & Signal Light: Required in many states. Store on your PFD for instant access.
- Knife or Line Cutter: Useful for emergencies or untangling fishing line.
- Dry Bag: Store extra clothes, snacks, sunscreen, and a first-aid kit inside.
9. Install Visibility Accessories
Being visible is critical, especially in low light or busy waterways. High-visibility gear prevents collisions and helps others spot you.
Visibility Boosters:
- Safety Flag: A tall orange or red flag mounted at the rear helps others see you from a distance.
- 360° White Light: Required for low-light or night trips. Mount it on a pole or elevated track.
- Reflective Tape: Add to your paddle blades, hull, or PFD straps.
- Bright Gear Colors: Choose paddles, crates, or clothing in neon or contrasting colors for extra visibility.
10. Use Gear Tracks and Mounting Bases
Gear tracks allow you to customize your setup without drilling holes into your kayak. They’re versatile and make accessory management simple.
How to Use Them:
Mounting Accessories: Attach rod holders, camera mounts, cup holders, GPS units, or phone holders using sliding track mounts.
Popular Systems: YakAttack, Scotty, and RAM mounts offer compatible gear.
Flexible Adjustment: You can slide accessories forward or backward based on reach, comfort, or storage needs.
Installation Tips: Most fishing kayaks come with pre-installed tracks. If not, you can add them using marine-grade bolts and sealant.
11. Add Cooler and Bait Storage
Keeping your drinks, snacks, catch, or live bait fresh is easier with proper storage.
Storage Ideas:
- Soft Coolers: Lightweight and flexible, fits easily behind the seat or under the deck.
- Hard Coolers: More durable and better for storing ice, drinks, or harvested fish.
- Bait Storage: Use insulated bait bags or small live wells for keeping baitfish alive.
- Mounting: Secure coolers with bungee cords or tie-down straps so they don’t slide around during movement or waves.
12. Test Your Setup on the Water
Before heading out on a long fishing trip, do a trial run to make sure everything works smoothly.
What to Check:
Balance and Stability: Paddle around to ensure the kayak handles well with all your gear loaded.
Gear Access: Practice reaching for rods, tackle, and tools to make sure nothing is too far or awkward to grab.
Adjustments: Take notes and tweak seat positioning, rod holder angles, or storage layout as needed.
Dry Run Practice: Try casting, reeling, anchoring, and using electronics to mimic real fishing conditions.
Conclusion
A well-prepared kayak fishing setup makes your time on the water safer, smoother, and much more enjoyable. Every piece of gear, from rod holders to safety lights, plays a part in your success and comfort. Take the time to customize your kayak based on your fishing style and environment, and you’ll be ready for any adventure.
FAQs
Do I need a fish finder on my fishing kayak?
No, it’s not mandatory—but it can greatly improve your fishing success by showing underwater structures, depth, and fish activity. It’s especially useful in large lakes or unfamiliar waters.
How do I keep my gear dry while kayak fishing?
Use waterproof dry bags, sealed storage boxes, and watertight hatches. Store sensitive gear like electronics, clothing, and food in these containers, and always secure them to the kayak.
Can I stand on any fishing kayak?
Not all kayaks are built for standing. Look for models with a wide, flat deck and high stability rating. Standing is helpful for casting and sight fishing but should only be done if your kayak is designed for it.
What’s the best way to mount rod holders?
Use pre-installed gear tracks if available—they let you position and adjust holders without drilling. For permanent installation, mount them on flat surfaces using marine-grade bolts and sealant to prevent leaks.