A fish finder is one of the most powerful tools modern anglers use to locate fish, understand underwater structures, and improve their success on the water. Whether you’re fishing from a kayak, a boat, or even the shoreline, learning how a fish finder works—and how to use it correctly—can transform your fishing game. In this guide, you’ll discover the science behind sonar technology, how to set up and read your device properly, and key tips to avoid common mistakes for accurate and efficient fish tracking.
Overview of a Fish Finder

A fish finder is an electronic device used to detect fish underwater by using sonar technology. It sends out sound waves through the water and reads the echoes that bounce back from objects like fish, the bottom of the lake or ocean, and other submerged structures. The information is displayed on a screen, allowing anglers to pinpoint fish locations, determine water depth, and study bottom contours.
Fish finders are especially useful for increasing catch rates, identifying ideal fishing spots, and understanding the underwater environment. Whether you’re a beginner or an experienced angler, using a fish finder can make your fishing trips more efficient and rewarding.
How Does a Fish Finder Work?

A fish finder works using sonar—short for Sound Navigation and Ranging. It sends sound waves down into the water through a transducer. When these waves hit an object, such as a fish, plant, or the lakebed, they bounce back to the transducer. The device then calculates the time it took for the echo to return and converts that data into visuals on the screen.
This process helps anglers see a real-time image of what’s beneath the surface, including water depth, fish presence, bottom structure, and vegetation.
How Sonar Technology Detects Fish
- The transducer emits sonar pulses downward or sideways.
- When these pulses hit a target (like fish), echoes are sent back.
- The strength and timing of those echoes help determine size, shape, and distance.
- Fish often appear as arches or icons depending on the settings.
Types of Sonar in Fish Finders
- Traditional 2D Sonar – Basic mode showing fish arches and bottom contour.
- CHIRP Sonar – Sends a range of frequencies for clearer, more detailed readings.
- Down Imaging – Gives detailed vertical views of what’s directly beneath the boat.
- Side Imaging – Offers wide-angle views to the left and right of the boat for scanning larger areas.
Each sonar type has its advantages depending on where and how you fish, helping you interpret what’s happening underwater more accurately.
Key Components of a Fish Finder
Understanding the main parts of a fish finder helps you operate it correctly and make the most of its features. Each component plays a specific role in detecting and displaying underwater activity.
Transducer
The transducer is the core of the fish finder. It sends out sonar signals into the water and receives the echoes that return. These signals help identify fish, structures, and the bottom of the body of water.
- Placement matters: It’s typically mounted on the boat’s transom, hull, or even on a kayak arm.
- Types of mounts: Transom-mount, thru-hull, and in-hull—each suited for different boats.
Display Screen
The display shows the interpreted sonar data. It visualizes fish arches, bottom contour, water depth, vegetation, and more.
- Screen size and resolution: A larger, high-resolution screen gives you better detail and easier reading in sunlight.
- Color vs grayscale: Color displays offer more accurate distinctions between objects and bottom structure.
Control Panel and Settings
The control unit allows you to interact with the fish finder and adjust settings for better accuracy.
- Basic controls: Power, zoom, menu access, and waypoint saving.
- Custom settings: Adjust sonar sensitivity, chart speed, depth range, and noise filters based on fishing conditions.
Each component must be set up and maintained properly to ensure accurate readings and dependable performance on the water.
Different Types of Fish Finders

Fish finders come in various types, each designed for specific fishing styles, water conditions, and user preferences. Choosing the right one depends on your setup—whether you’re fishing from a kayak, boat, or shore.
Portable Fish Finders
- Ideal for casual anglers or those who fish from multiple locations.
- Easy to transport and often battery-powered.
- Best suited for kayaks, canoes, or ice fishing.
Fixed-Mount Fish Finders
- Installed permanently on boats.
- Offer advanced features like GPS integration, large displays, and multi-frequency sonar.
- Best for deep-sea and offshore fishing.
Castable Fish Finders
- Small sonar devices you cast from your rod.
- Data is transmitted to a smartphone via Bluetooth or Wi-Fi.
- Great for shore or dock anglers.
GPS Combo Fish Finders
- Combine sonar imaging with GPS mapping.
- Allow you to save waypoints, track routes, and mark fishing hotspots.
- Essential for navigation and returning to productive areas.
CHIRP vs Dual Beam
- CHIRP sonar sends a range of frequencies for better clarity and depth.
- Dual-beam sonar gives wider coverage but less detail.
- CHIRP is preferred for more accurate readings, especially in deeper water.
How to Use a Fish Finder Properly (Step-by-Step)

Using a fish finder the right way can make a huge difference in your fishing experience. From installation to reading the screen, each step plays a role in how accurately you locate fish and understand what’s happening beneath the surface. Here’s how to use a fish finder effectively, broken down into clear steps.
Step 1: Mount the Transducer Correctly
Start by mounting the transducer in the best location. On a boat, it should be placed at the bottom of the transom, just below the waterline and away from the propeller to avoid interference. On a kayak, it can be attached using a scupper mount or a flexible arm over the side. Make sure it’s level and fully submerged. An improperly mounted transducer can send distorted signals and ruin your readings.
Step 2: Power On and Configure Basic Settings
Once your device is connected to a power source, turn it on and walk through the initial setup. Set the language, adjust the temperature and depth units, and configure the backlight for visibility depending on whether you’re fishing in bright sun or low light. Choose a manual depth range if you’re in a known body of water to avoid constant automatic shifting.
Step 3: Read the Display Effectively
When the sonar starts working, you’ll begin seeing shapes, lines, and arches on your screen. Interpreting this correctly is essential. Fish usually appear as arches or icons, depending on your settings, while vegetation might show as uneven, textured areas. Hard bottoms give off strong returns and appear as thick solid lines, whereas softer bottoms appear fainter. Pay attention to the water column to see where the fish are suspended.
Step 4: Fine-Tune Sonar Settings
To improve accuracy, tweak the sensitivity or gain based on water depth. In deeper water, higher sensitivity reveals more detail, but in shallow water, too much can clutter the screen. Adjust the chart speed to match your boat speed—faster speeds need higher chart speed to keep up with the changing view. You can also explore features like split-screen, zoom, and color palette changes to tailor the view to your preferences and water conditions.
By following these steps and getting comfortable with your device’s controls, you’ll quickly learn how to spot fish, understand structures, and make smarter fishing decisions every time you’re on the water.
Best Practices to Maximize Performance
To get the most out of your fish finder, it’s important to go beyond basic usage and follow proven techniques that boost accuracy and efficiency. These best practices help ensure you’re reading the sonar data correctly and not missing key underwater details.
Use Slow and Steady Speeds
Fish finders work best when your boat or kayak moves slowly. This gives the transducer more time to scan the area and produce clearer images. High-speed travel can distort the signal or make it harder to interpret fish and structures correctly.
Keep the Transducer Clean
Over time, algae, dirt, or debris may build up on the transducer’s surface, especially in saltwater. Cleaning it regularly helps maintain optimal performance and ensures the sonar signals stay sharp and undistorted.
Use GPS Waypoints to Track Hotspots
Many fish finders come with GPS capability. Use it to mark productive fishing spots, underwater structures, or drop-offs. This allows you to return to high-yield areas in the future without wasting time searching again.
Common Mistakes to Avoid
Even experienced anglers can make small errors that lead to poor sonar readings or missed opportunities. Avoiding these mistakes can save time and improve your results on the water.
Misreading Sonar Images
One of the most common mistakes is misinterpreting what appears on the screen. Not all arches are fish, and not all clutter is debris. Learning how to distinguish between vegetation, bait schools, and actual fish is key to proper usage.
Relying Only on Auto Settings
While automatic settings are convenient, they’re not always accurate. In changing water conditions, you may need to manually adjust depth range, sensitivity, and frequency to get better readings and avoid false signals.
Incorrect Transducer Placement
Placing the transducer in a spot that causes turbulence or air bubbles—like directly behind the propeller—can distort the sonar signal. Always mount it in a clean water flow area to ensure you get accurate returns.
Fish Finder Use in Different Fishing Conditions
Fish finders behave differently depending on water depth, structure, and clarity. Adjusting your techniques to match your fishing environment ensures reliable results.
Deep Water Fishing
In deep water, choose a lower frequency (like 50 kHz) for better depth penetration. Use CHIRP sonar if available to separate fish from the bottom. Focus on bottom contours and suspended fish that may appear as larger arches or clusters.
Shallow Water and Rivers
Higher frequencies (around 200 kHz) work better in shallow water, providing more detailed images. Reduce sensitivity to avoid noise from the bottom. In rivers, pay attention to submerged logs, vegetation, and current flow that may hide fish.
Kayak and Shore Fishing
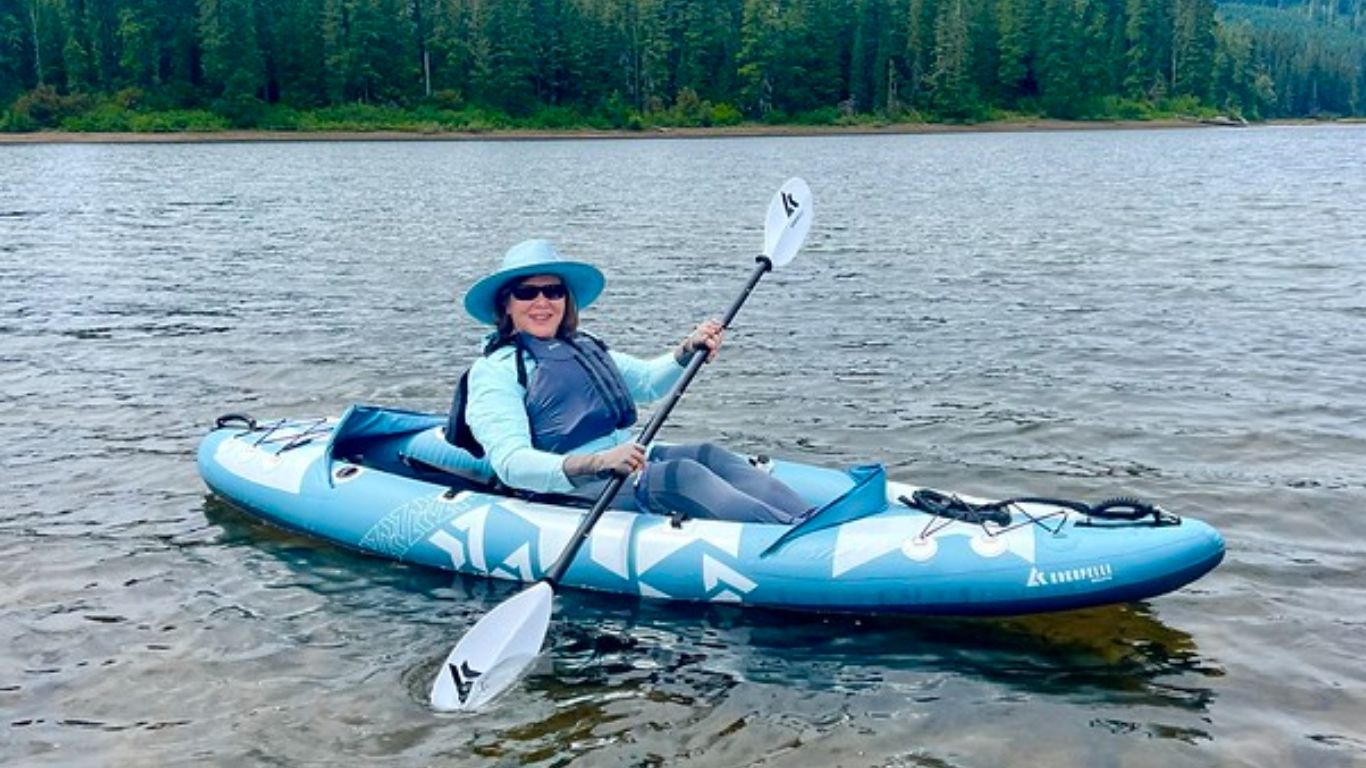
For kayakers, compact fish finders with castable or suction-cup-mounted transducers are ideal. Castable units are also great for bank anglers, as they transmit data to a smartphone. Be sure to use portable battery packs and adjust brightness for daylight visibility.
Maintenance and Troubleshooting Tips
Taking care of your fish finder ensures it lasts longer and works effectively every time you head out. Regular maintenance and knowing how to fix small issues can keep your device performing at its best.
Clean After Each Use
After fishing, especially in saltwater, clean the transducer and screen with fresh water and a soft cloth. Salt deposits or debris can block sonar signals or damage sensitive components over time.
Protect the Display and Cables
Always cover the screen when not in use to prevent sun damage or scratches. Check the power and transducer cables for any signs of wear, cracking, or corrosion. Secure them tightly and avoid pulling or stretching them unnecessarily.
Update Firmware and Settings
Many modern fish finders offer firmware updates that improve performance or add new features. Check the manufacturer’s website periodically and update your device through an SD card or USB, depending on your model.
Troubleshoot Signal Loss or Poor Readings
If the sonar suddenly stops working or displays incorrect data, check the transducer for obstructions, air bubbles, or damage. Also inspect the mount to ensure it hasn’t shifted out of position. Reboot the system and reconfigure key settings if needed.
11. FAQs
1. Can a fish finder detect all fish sizes?
Fish finders can detect a range of fish sizes, but smaller fish may not always appear clearly—especially at deeper depths or with low sensitivity. CHIRP sonar improves target separation, making it easier to see both large and small fish.
2. What’s the best frequency for shallow vs deep water?
Use high frequencies (200 kHz or higher) for shallow water to get detailed images. For deep water, lower frequencies (like 50 kHz) provide better depth penetration, though with less detail.
3. Can I use a fish finder in saltwater?
Yes, most fish finders work in both freshwater and saltwater. Just ensure the transducer and cables are saltwater-rated and rinse them after use to prevent corrosion.
4. How do I know if the transducer is working properly?
You’ll see consistent sonar returns on the screen. If the display is blank, distorted, or full of noise, check the transducer for clogs, misalignment, or electrical issues.
5. Does water temperature affect fish finder accuracy?
Water temperature doesn’t affect sonar signals much, but fish behavior changes with temperature. Many fish finders display water temperature, which can help you predict fish location and activity.