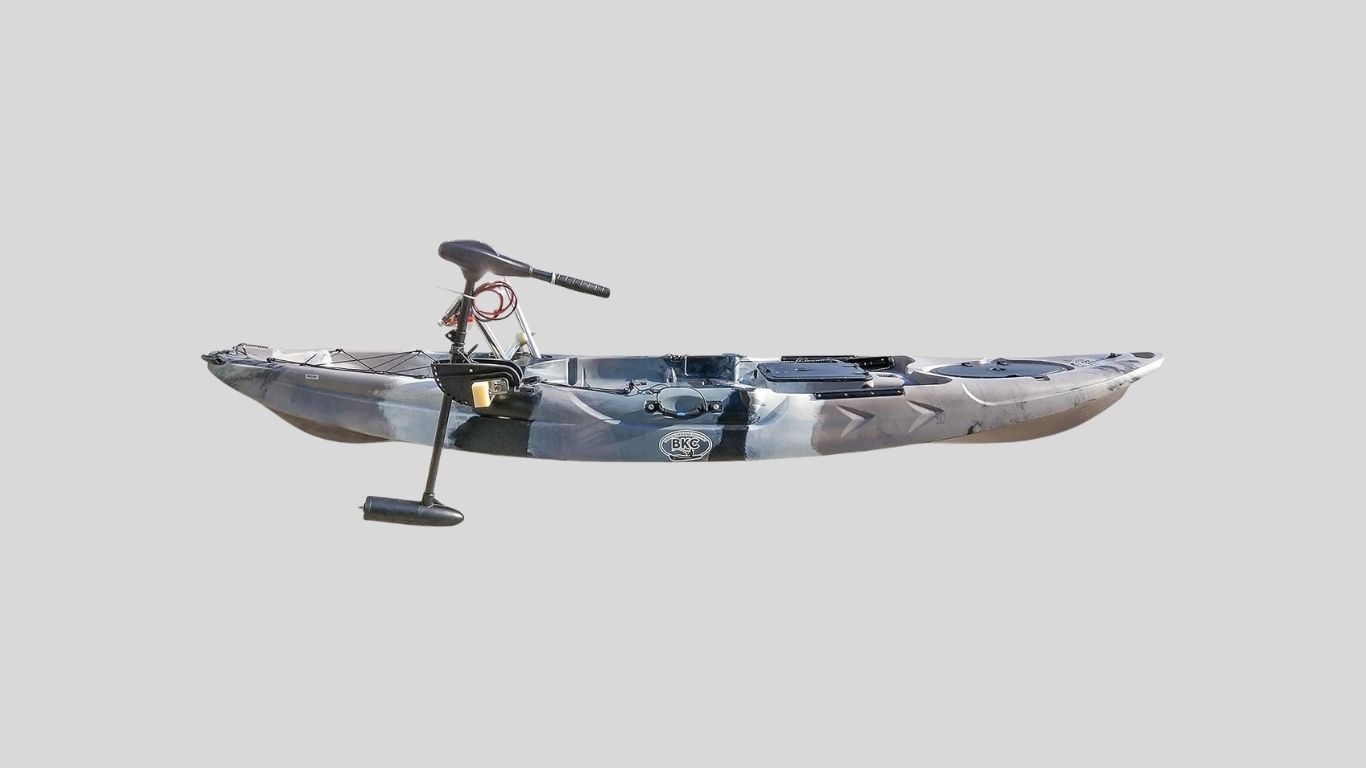
Upgrading your kayak with a trolling motor can open up a new world of convenience, speed, and control on the water. Whether you’re fishing or exploring, a motor helps you cover more ground with less effort. But to get it right, setup matters. This guide will walk you through everything from choosing a motor to installation and safety tips.
Why Add a Trolling Motor to a Kayak?
Benefits of Using a Trolling Motor
Kayak trolling motors give paddlers more control and reduce fatigue, especially on longer trips or when fishing in wind or current. You can hold your position without constant paddling, which is ideal for casting or anchoring in one spot.
Ideal Situations for Motorized Kayaking
A trolling motor is perfect for:
- Fishing in lakes or rivers with strong current
- Long-distance paddling where stamina is limited
- Covering more fishing spots quickly without tiring
It’s especially helpful when the return trip is against wind or tide.
Legal Considerations
In many regions, once a motor is added—even electric—you’ll need to register the kayak with local marine authorities. Registration rules vary by state or country, so always check your local laws. You may also need to add visible registration numbers to the hull.
Choosing the Right Trolling Motor
Motor Types: Transom vs Bow Mount
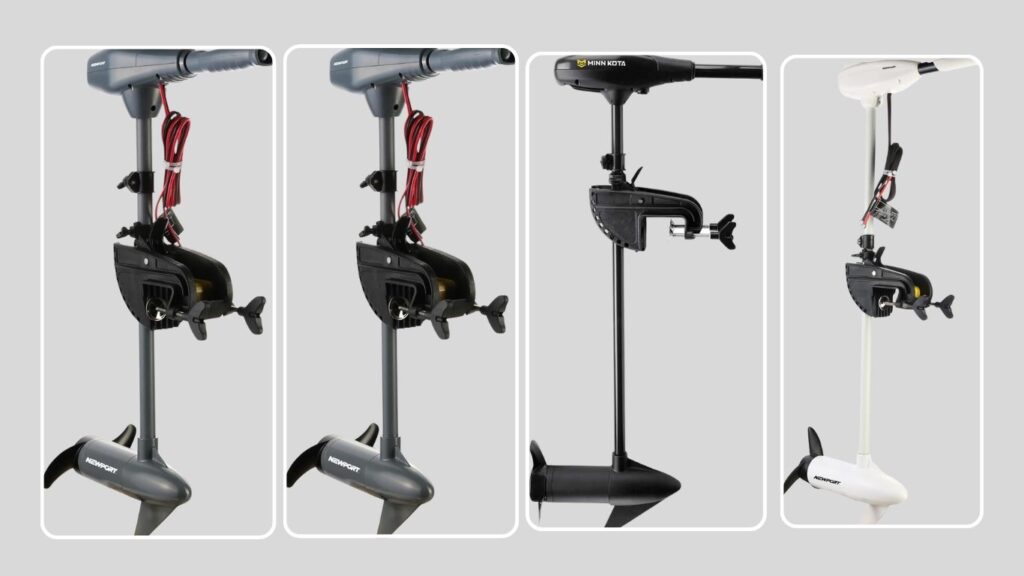
Most kayakers use transom mount motors because they’re easy to install on the back of the kayak. Bow mount motors are more complex and suited for larger fishing kayaks with specific mounts. Unless you have a pedal kayak or custom rig, a transom motor is the better choice. 12 Best Trolling Motors For Kayaks: Review and Guide
Thrust Power: How Much Do You Need?
For kayaks, 30 to 55 pounds of thrust is sufficient. Thrust refers to how much power the motor provides, not speed. Too much thrust can destabilize a lightweight kayak, while too little won’t fight the wind or current effectively.
- For single-person kayaks: 30–40 lbs thrust is ideal
- For heavier fishing kayaks or tandem setups: 45–55 lbs
Shaft Length & Motor Weight
Shaft length determines how deep the propeller sits in the water. Too short, and the prop may surface. Too long, and it may snag on weeds or hit the bottom. Most kayak setups work well with a shaft between 24–36 inches.
Also, check the motor weight. Lighter motors (under 25 lbs) are easier to install and balance.
Saltwater vs Freshwater Models
If you paddle in brackish or saltwater areas, invest in a trolling motor rated for saltwater use. These come with corrosion-resistant components and sealed electronics to prevent damage. Using a freshwater-only motor in saltwater can quickly ruin it.
Essential Gear You’ll Need
To set up your kayak trolling motor properly, gather these core components:
- Trolling Motor: Choose based on thrust, shaft length, and mounting type.
- Marine Battery: A 12V deep cycle battery is most common. Lithium batteries are lighter but more expensive.
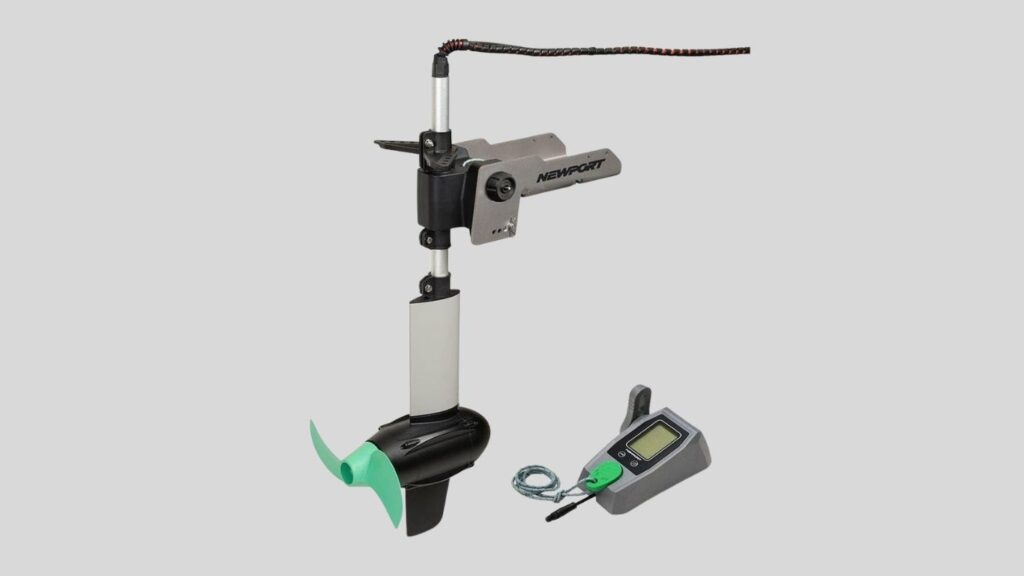
- Mounting Kit: Includes hardware or a bracket to attach the motor securely.
- Battery Box or Tray: To keep the battery stable and safe from water splash.
- Wiring and Fuses: Marine-grade wiring, inline fuse or circuit breaker for protection.
Optional add-ons include extension handles, foot controls, solar chargers, and battery indicators.
Prepping Your Kayak for Installation
Check Weight Capacity and Stability
Before installing anything, confirm your kayak’s weight rating. Add up your body weight, gear, battery, and motor to ensure it stays well under the limit. Overloading will affect how the kayak sits in the water and could lead to tipping or water intake.
Choose the Mounting Location
Trolling motors can be installed on the rear (transom), side, or bow of the kayak. The transom mount is easiest and most common. Choose a location that won’t interfere with paddling and still allows you to steer comfortably.
Reinforce Mounting Area
Not all kayaks come with hardpoints for mounting. You may need to add a custom mounting plate or reinforce the area with marine-grade wood or plastic to prevent cracks or wear over time. Use stainless steel bolts and waterproof sealant during installation.
Step-by-Step Setup Instructions
Step 1: Install the Mounting Bracket
Start by positioning the mounting bracket or plate on the selected area of your kayak. If you’re using a pre-made trolling motor mount, follow the instructions provided. For custom installations, drill holes carefully and use stainless steel bolts and washers. Add marine sealant around the bolts to prevent water from entering the hull.
Ensure the bracket is aligned straight so the motor propeller stays centered during operation.
Step 2: Attach the Trolling Motor
With the bracket secured, place the trolling motor onto it. Tighten the mounting clamps or hardware until the motor is locked in place. Make sure the shaft is vertical and not tilted. This helps with smooth tracking and prevents unwanted steering drift.
You should also check that the motor can pivot freely for turning and lifting out of the water.
Step 3: Secure the Battery in Place
Find a spot inside the kayak with enough room and good balance. Behind the seat or in the rear tank well is common. Place the battery in a waterproof box or tray and secure it with bungee cords or straps. This prevents the battery from shifting or tipping over in rough water.
If your kayak has a sealed hatch, you can route wiring through it with waterproof grommets for a cleaner setup.
Step 4: Connect Wiring and Fuse
Use marine-grade wires to connect the battery to the trolling motor. Install an inline fuse or circuit breaker (typically 40A or 50A) close to the battery to protect against electrical faults. Red wire goes to positive, black to negative.
Make sure all connections are tight and waterproofed. Heat-shrink tubing and dielectric grease can help prevent corrosion.
Step 5: Test the Motor and Adjust Shaft Depth
Lower the motor shaft into the water. The propeller should be at least 6–12 inches below the surface. Too shallow and it’ll cavitate; too deep and it may hit obstacles.
Turn on the motor and test both forward and reverse. Adjust the steering tension knob if needed. Confirm everything runs smoothly before heading out on the water.
Step 6: Cable Management and Waterproofing Tips
Use zip ties or clips to organize loose wires. Route them away from your feet and paddling area. Seal any hull holes or cable entry points with waterproof silicone. Keep the battery terminals dry and regularly inspect them for rust or corrosion.
Balancing and Weight Distribution
Proper balance is critical for performance and safety. Placing a trolling motor and battery on one end of the kayak can make it tail-heavy or tip-prone. To fix this:
- Distribute gear evenly front to back
- Place the battery opposite the motor to counterbalance
- Sit centrally or slightly forward if solo paddling
Sit-in kayaks tend to be lower and narrower, requiring extra attention to balance. Sit-on-top kayaks are wider and more stable, better for motors and batteries.
Safety Tips When Using a Motorized Kayak
Adding a trolling motor brings new responsibilities. Here are a few key safety tips to follow:
- Always wear a PFD (life jacket), especially when dealing with batteries or electronics.
- Don’t exceed weight limits—check the kayak’s total capacity and subtract your body weight and gear to find the safe limit.
- Monitor battery levels during trips. A dead battery can leave you stranded.
- Keep a paddle onboard as a backup in case the motor fails.
- Avoid shallow or weedy areas where the propeller could get stuck or damaged.
Maintenance and Troubleshooting
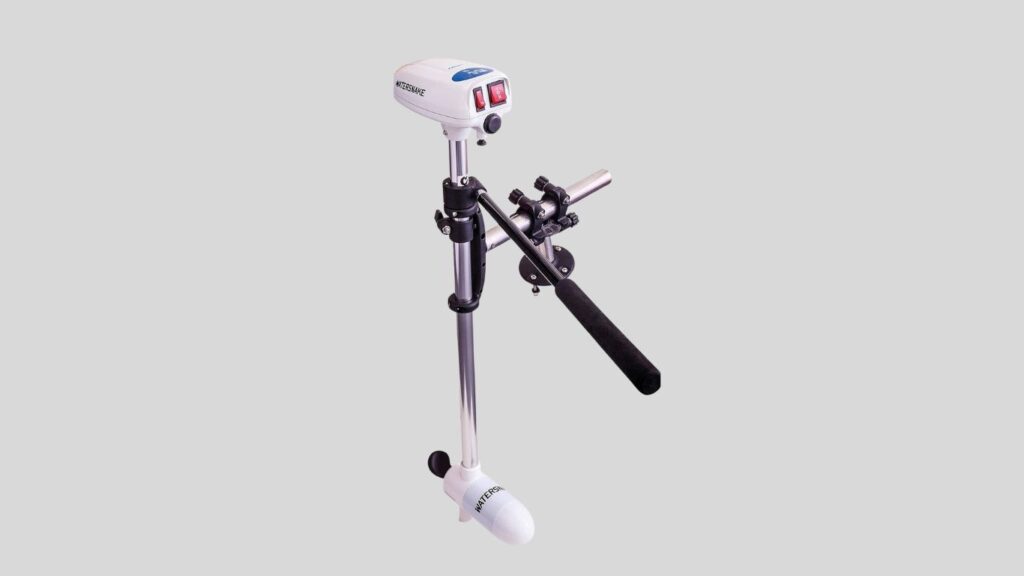
To keep your trolling motor setup reliable, follow regular maintenance:
- After saltwater use, rinse the motor and wiring with fresh water to remove salt and prevent corrosion.
- Charge batteries fully after each trip. Store them in a cool, dry place.
- Check wiring connections regularly for wear, rust, or loose terminals.
- If your motor won’t turn on, check the fuse, breaker, and wiring continuity first.
FAQs
Do I need to register my kayak if I add a motor?
Yes, in most areas. Even an electric motor turns your kayak into a “motorized vessel,” requiring registration and hull numbers.
How fast will my kayak go with a trolling motor?
Most trolling motors provide speeds of 2–5 mph, depending on thrust and kayak weight.
How long will the battery last?
Battery life depends on amp draw and battery size. A 12V 100Ah battery can typically power a 30 lb thrust motor for 4–5 hours at half speed.
Can I install a trolling motor on an inflatable kayak?
Yes, but only if the inflatable is rated for motor use. You’ll need a special motor mount and lightweight battery.