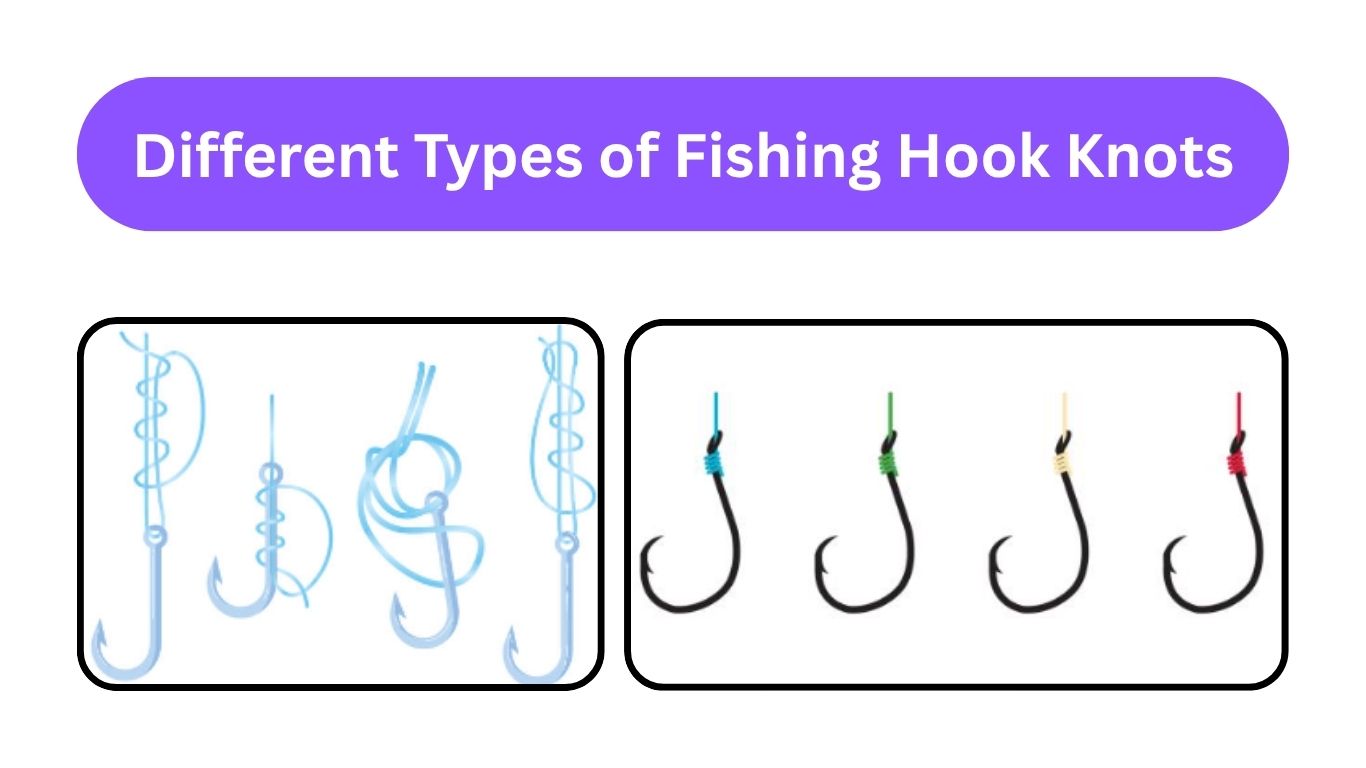
Fishing is one of the most enjoyable outdoor activities, but to catch fish successfully, you need to know the basics. One of the most important skills every angler should learn is tying fishing knots. A knot is the connection between you and the fish. If your knot is weak or tied incorrectly, the fish can escape easily. That’s why learning the right knots is a must.
In this guide, we’ll explain the different types of fishing hook knots, how to tie them, when to use them, and some tips for making them strong. Don’t worry, we’ll keep everything simple so even beginners can follow along.
Why Are Fishing Knots Important?
Fishing knots are not just about attaching a hook to a line. A good knot:
- Keeps the hook secure so you don’t lose fish.
- Prevents your line from slipping or breaking when a fish pulls hard.
- Helps you fish in different conditions like freshwater, saltwater, or deep-sea fishing.
- Maintains line strength; a good knot keeps most of the line’s original strength.
If you use the wrong knot or tie it incorrectly, it can break when a big fish pulls on your line. That means losing your catch and maybe your hook too.
Types of Fishing Hook Knots Every Angler Should Know
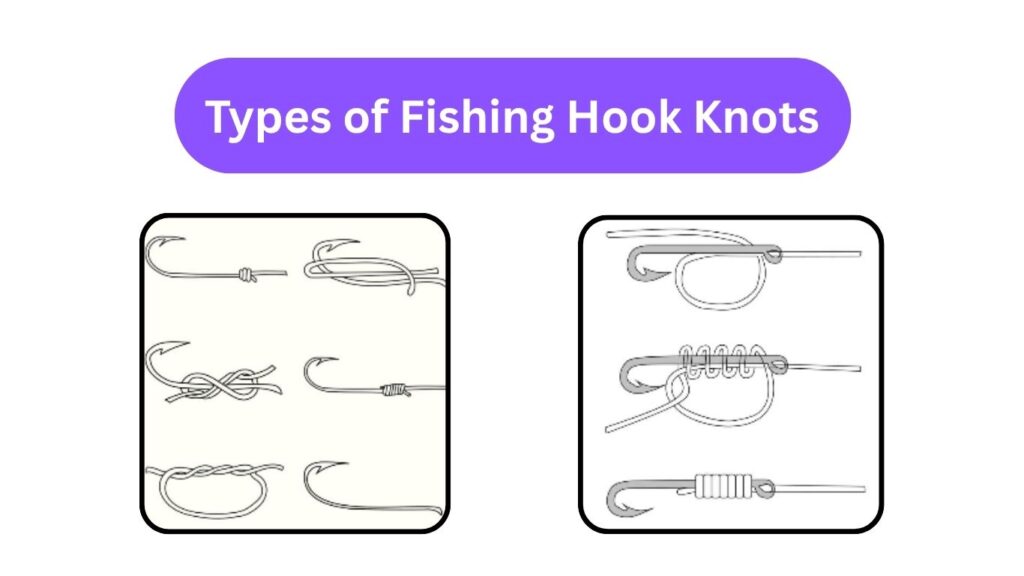
There are hundreds of fishing knots, but you don’t need to learn them all. Knowing a few strong, reliable knots is enough for most fishing situations. Here are the 7 most important knots every angler should know.
1. Improved Clinch Knot
The Improved Clinch Knot is one of the most popular knots in fishing. It’s simple, strong, and perfect for beginners.
When to Use It
The Improved Clinch Knot is great for tying hooks, lures, or swivels to your fishing line. It works best with light to medium fishing lines, such as monofilament and fluorocarbon, which are commonly used by many anglers. This knot is especially popular for freshwater fishing because it provides a strong and reliable connection that holds well during typical freshwater angling situations.
How to Tie the Improved Clinch Knot
To tie the Improved Clinch Knot, start by passing the fishing line through the eye of the hook. Next, take the tag end of the loose end of the line, and wrap it around the main line five to seven times. After making these wraps, pass the tag end through the small loop located near the hook’s eye. Then, guide the tag end through the larger loop you just created. Before tightening the knot, wet it with water or saliva to reduce friction and prevent heat damage to the line. Finally, pull the main line slowly and steadily until the knot tightens securely against the hook. Once tightened, trim the extra tag end close to the knot to finish.
Advantages
- Very easy to learn for beginners.
- Strong enough for most small to medium fish.
- Requires very little line to tie.
Disadvantages
- Not the best for braided line (it can slip).
- Loses some strength if not tightened properly.
Best Situations
The Improved Clinch Knot is especially well-suited for fishing situations involving trout, panfish, or small bass. It works best when using light fishing lines and small hooks, making it a reliable choice for anglers targeting these species with lighter tackle.
2. Palomar Knot
The Palomar Knot is considered one of the strongest knots in fishing. It’s simple and very effective.
When to Use It
The Palomar Knot works perfectly with braided lines and is an excellent choice for anglers using heavy fish and strong lines. It is well-suited for tying hooks, lures, and swivels, providing a reliable and strong connection in a variety of fishing situations.
How to Tie the Palomar Knot
To tie the Palomar Knot, begin by doubling about six inches of your fishing line and passing the loop through the eye of the hook. Next, tie a loose overhand knot with the doubled line, making sure it is not too tight. Then, slide the loop over the hook or lure. Before tightening the knot, wet it to reduce friction and prevent damage to the line. Finally, pull both ends of the line evenly and firmly until the knot tightens securely around the hook.
Advantages
- Extremely strong (retains nearly 100% line strength).
- Quick and easy to tie, even in low light or bad weather.
- Perfect for braided line.
Disadvantages
- The loop must fit over the lure—hard for big lures.
- Uses more line compared to the Clinch Knot.
Best Situations
The Palomar Knot is best suited for bass fishing when using braided line, as it provides exceptional strength and security. It is also an excellent choice for saltwater fishing situations where knot strength is critical, ensuring your connection holds even against powerful fish.
3. Uni Knot (Duncan Knot)
The Uni Knot is very versatile. It can be used for hooks, lures, and even joining two lines.
When to Use It
The Uni Knot is a reliable choice that works with both monofilament and braided lines, making it highly versatile for different fishing setups. It is commonly used for tying hooks, swivels, and lures securely to the line. Additionally, this knot is ideal for creating loop-to-loop connections by combining it with another Uni Knot, which is especially useful when connecting leaders or joining two lines together.
How to Tie the Uni Knot
To tie the Uni Knot, begin by passing the line through the eye of the hook and forming a loop beside it. Next, take the tag end and wrap it around the main line and through the loop five to seven times, creating neat and even coils. Once the wraps are complete, pull the tag end slowly to tighten the coils, making sure the knot forms smoothly. Finally, slide the knot down to the hook and pull firmly on the main line to secure it in place.
Advantages
- Very strong and reliable.
- Adjustable before tightening.
- Works for many fishing purposes.
Disadvantages
- Slightly harder for beginners than the Clinch Knot.
- Takes a little more time to tie.
Best Situations
The best situations for using this knot are during both saltwater and freshwater fishing. It’s also a great choice when you want one reliable knot that works for multiple purposes, making it a versatile option for different fishing needs.
4. Snell Knot
The Snell Knot is great when you want the hook to sit straight on the line. It’s commonly used for bait fishing.
When to Use It
The Snell Knot is perfect for circle hooks and is an excellent choice for live bait fishing when a natural presentation is needed. It keeps the hook aligned with the line, allowing the bait to move naturally in the water, which helps attract fish more effectively.
How to Tie the Snell Knot
To tie the Snell Knot, start by passing the line through the hook’s eye from the point side. Next, create a loop along the hook shank and hold it in place. Take the tag end and wrap it around both the hook shank and the main line six to eight times, making sure the coils are neat and tight. Once the wraps are complete, pull the tag end to tighten the knot and then pull the main line to secure everything firmly in place.
Advantages
- Keeps the hook in the best position for hooking fish.
- Very strong and neat.
Disadvantages
- Harder for beginners.
- Takes time to tie.
Best Situations
The Snell Knot is best suited for saltwater fishing when targeting large, powerful fish that require a strong and secure connection. It is also an excellent choice for bait rigs designed for species like catfish, carp, or other bottom feeders, as it keeps the hook in perfect alignment for effective hooksets.
5. Loop Knot (Non-Slip Loop Knot)
The Loop Knot is useful when you want your lure or bait to move freely.
When to Use It
The Loop Knot is ideal for situations where you need your lure or fly to move naturally in the water. It is especially useful for topwater lures or jigs, as it allows for a free, lifelike action that can attract more fish.
How to Tie the Loop Knot
To tie the Loop Knot, start by making an overhand knot about 10 inches from the tag end of your line. Next, pass the tag end through the eye of the hook and then back through the overhand knot you created earlier. After that, wrap the tag end around the main line four to six times to create secure coils. Once the wraps are complete, bring the tag end back through the overhand knot and pull it tight, ensuring the loop stays in front of the hook for free movement.
Advantages
- Gives lures a more natural movement.
- Strong and secure.
Disadvantages
- Slightly more complex than other knots.
- Takes longer to tie.
Best Situations
The Loop Knot is best used when fishing with artificial lures that require a free, lifelike action to attract fish. It allows the lure to move naturally in the water, making it more effective for enticing strikes from predatory species.
6. Double Uni Knot
The Double Uni Knot is perfect for joining two lines together, such as when using a leader.
When to Use It
The Double Uni Knot is commonly used for connecting the main line to a leader, making it an essential knot for many anglers. It works well with different types and sizes of fishing lines, providing a strong and reliable connection between lines of varying thickness or material.
How to Tie the Double Uni Knot
To tie the Double Uni Knot, start by overlapping the two lines you want to connect by about six inches. Take one of the lines and make a loop around the other line, then wrap it four to six times before pulling it tight to form a secure knot.
Repeat the same process with the other line, creating a second knot. Finally, pull both main lines in opposite directions to slide the two knots together, forming a strong and reliable connection between the lines.
Advantages
- Very strong connection.
- Easy for beginners to learn.
Disadvantages
- Takes more time than a single knot.
- Slightly bulky.
Best Situations
The Double Uni Knot is especially useful in saltwater fishing when attaching a fluorocarbon leader to the main line, as it provides a strong and dependable connection. It is also well-suited for heavy freshwater setups where durability and reliability are essential for handling larger fish and tougher conditions.
7. Surgeon’s Knot
The Surgeon’s Knot is another easy way to connect two lines. It’s quick and works well in emergencies.
When to Use It
The Surgeon’s Knot is ideal for joining fishing lines of different sizes, making it a versatile choice for many anglers. It is especially useful when you need a quick and reliable connection, allowing you to tie knots efficiently without sacrificing strength.
How to Tie the Surgeon’s Knot
To tie the Surgeon’s Knot, begin by overlapping the two lines you want to join. Next, tie an overhand knot using both lines together, creating a simple loop. Then, pass the ends of the lines through the loop a second time to add extra security. Finally, pull the knot tight and trim any excess line to complete the connection.
Advantages
- Quick and simple to tie.
- Good for emergency repairs.
Disadvantages
- Bulkier than other knots.
- Not as strong as the Double Uni Knot.
Best Situations
The Surgeon’s Knot is especially useful for quick leader attachments while on the water, allowing anglers to make fast repairs or adjustments without much hassle. Its simple design makes it easy to tie even in less-than-ideal conditions.
This knot is also a great choice in cold weather or when your hands are wet and dexterity is limited. Because it is easy to tie quickly and securely, it helps maintain strong connections when other knots might be more difficult to manage.
Extra Tips for Strong Knots
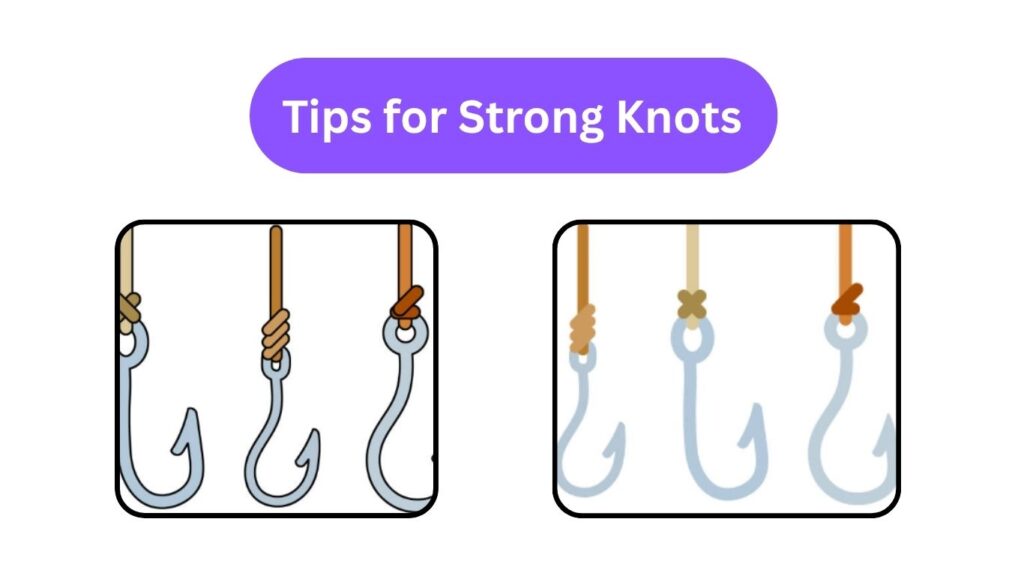
To ensure your fishing knots are strong and reliable, always wet the knot before tightening it, as this helps reduce friction and heat that can weaken the line. When tightening, pull the line slowly and evenly rather than jerking it, which can cause the knot to fail. Be sure to leave a small tag end, too short and the knot may slip, but too long and it can cause tangles.
Practicing your knots at home before heading out will save you valuable time and frustration on the water. Finally, check your knots regularly, especially after catching a fish or snagging on something, to make sure they remain secure throughout your fishing trip.
Common Mistakes to Avoid
There are several common mistakes anglers should avoid when tying fishing knots. One of the biggest errors is not wetting the knot before tightening, which increases friction and can weaken the line. Another mistake is using too few wraps around the main line, which can cause the knot to slip or come undone.
Tying knots in a hurry often leads to weak or poorly formed knots that may fail when under pressure. Finally, using the wrong type of knot for a particular line, such as a knot designed for monofilament on braided line, can reduce knot strength and reliability. Avoiding these mistakes will help ensure your knots hold strong when it counts.
Final Thoughts
Knowing the right fishing knots can make your fishing trip more successful. The knots we covered, Improved Clinch Knot, Palomar Knot, Uni Knot, Snell Knot, Loop Knot, Double Uni Knot, and Surgeon’s Knot, are enough for most fishing situations. Learn them one by one, practice them, and soon you’ll tie them without even thinking.
Remember, a strong knot is the key to landing more fish. Practice at home and check your knots before every cast. With the right knots, you’ll feel more confident and enjoy fishing even more.