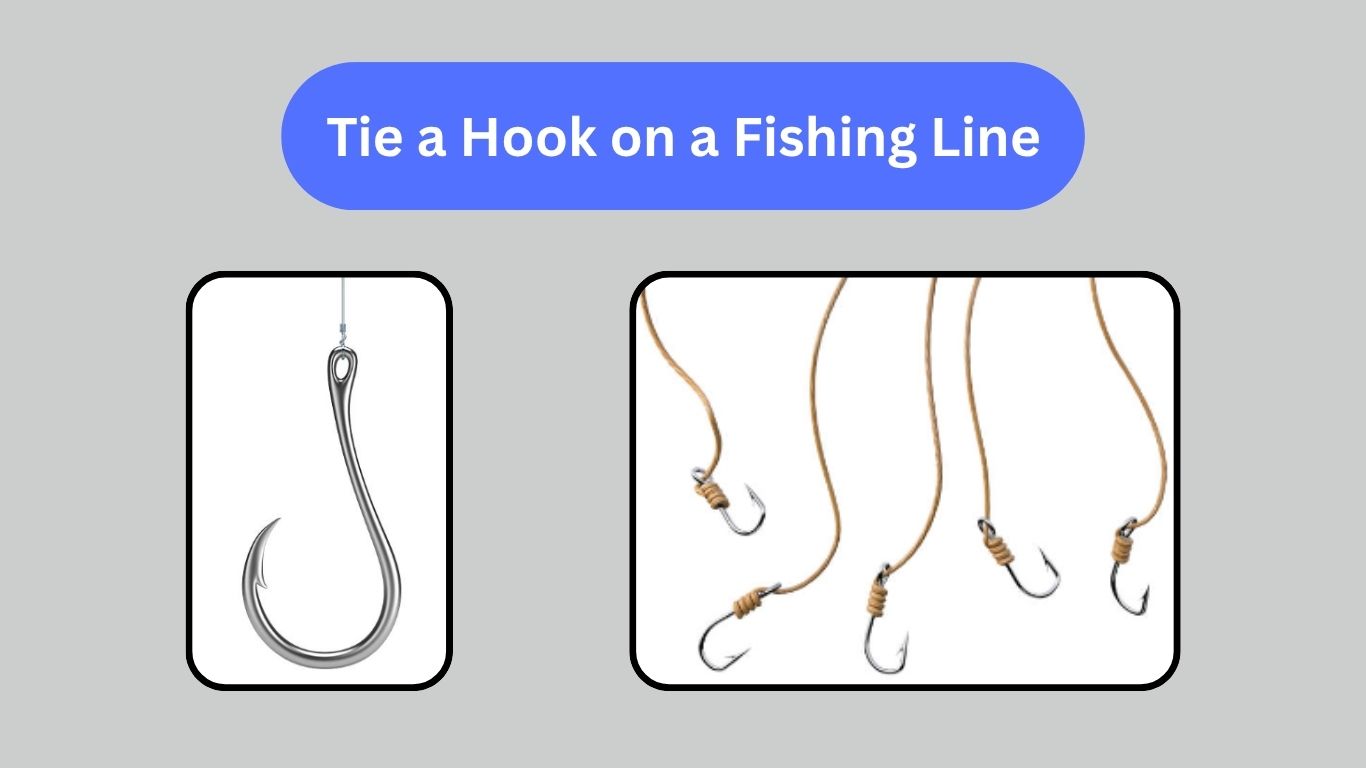
If you enjoy fishing or are thinking about trying it, one of the first skills you need to learn is how to tie a hook to your fishing line. It may seem like a small step, but it’s one of the most important parts of your fishing setup.
A good knot keeps your hook secure, helps present your bait the right way, and makes sure you don’t lose the fish once it bites. In this beginner-friendly guide, we’ll walk you through how to tie a hook on a fishing line using simple steps, easy words, and helpful tips that anyone can follow.
Why Is Tying the Hook Correctly So Important?
When you throw your line into the water, your hook and bait are the first things a fish will see. If the hook isn’t tied tightly, there’s a big chance it might slip off or break when a fish bites. Even worse, you could hook a big fish and lose it just because the knot wasn’t strong enough. That’s why learning to tie a hook properly is such a key skill.
A well-tied knot helps your bait stay in place, improves your chances of hooking a fish, and gives you confidence every time you cast your line. It also saves time and prevents frustration since you won’t have to keep replacing lost hooks or fixing your setup.
What You Need to Get Started
Before you begin tying knots, make sure you have a few basic items ready. You’ll need a fishing line, which can be made of monofilament, fluorocarbon, or braided material. Each type has its uses, but all of them work well for tying hooks. You’ll also need a fishing hook that matches the kind of fish you want to catch.
It’s a good idea to have scissors or a line cutter nearby to trim off any extra line after tying the knot. Optional items, such as swivels or snap clips, can also be helpful, especially if you plan to frequently switch hooks or lures. Once you have your tools, you’re ready to learn some knots.
Types of Fishing Knots for Hooks
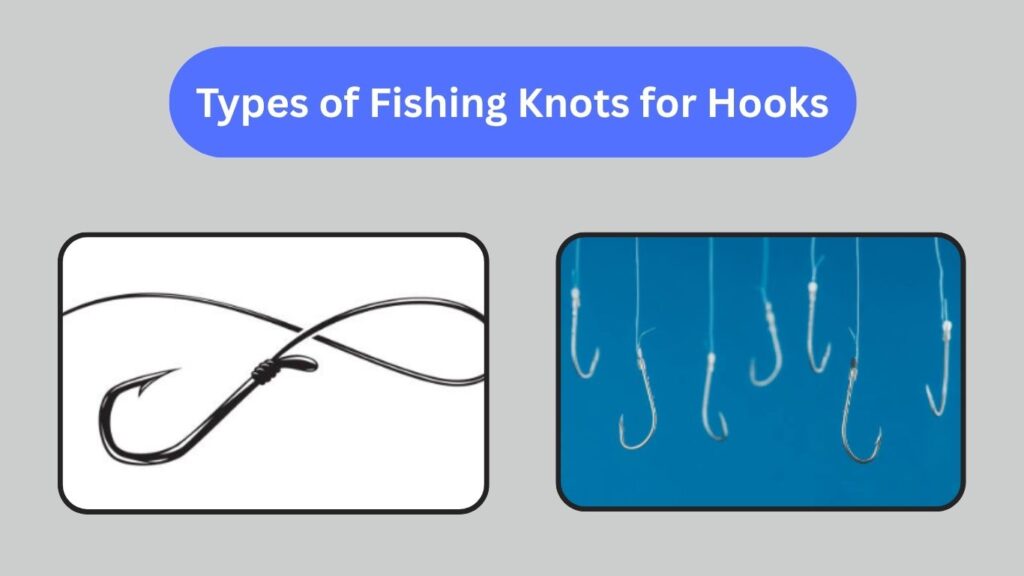
There are many ways to tie a hook to your line, but some knots are easier and more reliable than others. For beginners, it’s best to start with knots that are strong, simple, and work in most fishing situations.
The five knots we’ll cover in this guide are the Improved Clinch Knot, the Palomar Knot, the Snell Knot, the Loop Knot, and the Uni Knot. Each has its strengths and is useful for different fishing styles. Let’s go through them one by one, step by step.
Improved Clinch Knot (Perfect for Beginners)
The Improved Clinch Knot is one of the most popular knots among beginners. It’s easy to learn, quick to tie, and works well with most fishing lines, especially monofilament and fluorocarbon. To tie it, you first pass the end of your line through the eye of the hook and pull about 6 inches through.
Then, you twist the short end of the line around the main line about five to seven times. After that, take the tag end and pass it through the small loop near the hook eye. Then pass it through the big loop that forms next. Wet the knot with a little water or spit, then pull both ends slowly until the knot tightens.
Finally, trim the leftover tag end, leaving a small bit. This knot is great because it holds strong and is simple enough for anyone to learn. If you’re just starting, the Improved Clinch Knot is a solid choice to begin with.
Palomar Knot (Quick and Very Strong)
The Palomar Knot is known for being both strong and simple. It’s especially useful if you’re using braided fishing line, but it works well with other types too. To tie it, start by folding your line in half to make a loop, then pass the loop through the eye of the hook.
Next, tie a loose overhand knot using the double line, keeping the hook below the loop. After that, pass the entire hook through the loop and then pull on both the main line and the tag end to tighten the knot. Make sure to wet it first to avoid damaging the line. Once it’s tight, trim the short end.
What makes the Palomar Knot so popular is how easy it is to remember and how strong it holds, even when fighting bigger fish. If you want a knot that won’t slip and can handle a lot of pressure, this is a great one to use.
Snell Knot (Great for Bait Fishing)
The Snell Knot is a little different from the others. It’s perfect when you’re using bait hooks, especially circle hooks, and want the hook to sit in the right position. This knot is great for keeping the hook aligned with your line, which makes bait presentation more natural.
Start by passing the line through the eye of the hook from the front (the hook point side) and pulling through about 6 to 8 inches. Then lay the tag end along the hook shank and start wrapping it around both the shank and the line. Make six or seven tight wraps going down the hook. After that, pass the end of the line back through the hook eye, this time from the back. Wet the knot, then pull the main line to tighten everything.
This knot is very strong and ideal for anglers who practice catch-and-release, since it often hooks the fish in the corner of the mouth. If you’re using live bait or cut bait, the Snell Knot is a smart choice.
Loop Knot (For Lively Bait Movement)
The Loop Knot is different because it leaves a small loop between your hook and the line. This loop gives your hook freedom to move, which makes your bait look more natural in the water. That’s especially helpful when fishing with live bait or lures.
To tie it, start with a loose overhand knot a few inches from the end of the line, but don’t pull it tight yet. Next, pass the end of the line through the hook eye. Then go back through the overhand knot you made earlier.
Wrap the tag end around the main line four to five times, then pass it through the same overhand knot one last time. Wet the knot and pull slowly to tighten it, then trim the extra end. The Loop Knot is useful when you want your bait or lure to move freely and look more lifelike. It’s commonly used in both freshwater and saltwater fishing.
Uni Knot (All-Purpose and Easy to Tie)
The Uni Knot is a favorite among many anglers because it works for almost everything. Whether you’re tying on a hook, a lure, or even connecting two lines, this knot does the job. To tie it, pass the line through the hook eye and pull about 6 to 8 inches through.
Make a loop by laying the tag end over the main line. Then wrap the tag end around both the main line and the loop five or six times. Wet the knot and pull the tag end slowly to tighten the wraps.
Finally, pull the main line to slide the knot down to the hook, and trim the tag end. The Uni Knot is strong, easy to remember, and very reliable. It’s a great knot to learn if you want one that can be used in many fishing situations.
Tips for Tying Fishing Knots
No matter what knot you choose, there are a few simple tips that will help make your knots stronger and more reliable. First, always wet your knot before tightening it. This helps reduce friction, which can weaken the line or cause it to break.
A little water or even spit is enough. Second, pull the knot slowly and evenly. Don’t yank it, or you might mess up the wraps. Third, leave a small tag end after trimming, around a quarter inch is good. This helps prevent the knot from slipping.
Finally, practice tying your knots at home before you go fishing. Use a thick string to practice the steps, then move to your actual fishing line. With time, these knots will become second nature.
Common Mistakes to Avoid
Even experienced anglers make mistakes, especially when rushing. Here are some common knot-tying mistakes to avoid. One big mistake is not wetting the knot. This creates too much friction and can damage the line. Another mistake is using too few wraps, which makes the knot weak and more likely to slip.
Using the wrong knot for the type of line you have is also a problem. For example, some knots don’t hold well with braided line. Pulling too quickly or unevenly can cause the knot to bunch up or break.
And finally, cutting the tag end too short can lead to your knot coming undone during your cast or when a fish pulls. If you avoid these mistakes, your knots will hold better, and you’ll have a smoother fishing experience.
Choosing the Right Knot for Your Fishing Style
Different fishing styles work better with different knots. If you’re just starting, the Improved Clinch and Palomar knots are great choices. If you’re going after bigger fish or using braided line, the Palomar or Uni knot might be better.
For live bait, the Loop Knot helps the bait move naturally. And if you’re fishing with a circle hook and care about fish safety, the Snell Knot is a top choice. Matching your knot to your fishing method can make a big difference.
Final Thoughts
Learning how to tie a hook to your fishing line is one of the most important skills in fishing. It doesn’t matter how expensive your gear is; if the hook isn’t tied right, you won’t catch much. With the knots we’ve covered here, Improved Clinch, Palomar, Snell, Loop, and Uni, you’ll be ready for just about any kind of fishing. These knots are strong, easy to learn, and trusted by anglers all over the world.
Don’t be afraid to take your time and practice at home. Get comfortable with tying knots, and it will become second nature on the water. The more you fish, the better you’ll get. And the better your knots, the more fish you’ll catch. So grab your line, pick your hook, and tie your first knot. The adventure starts here.