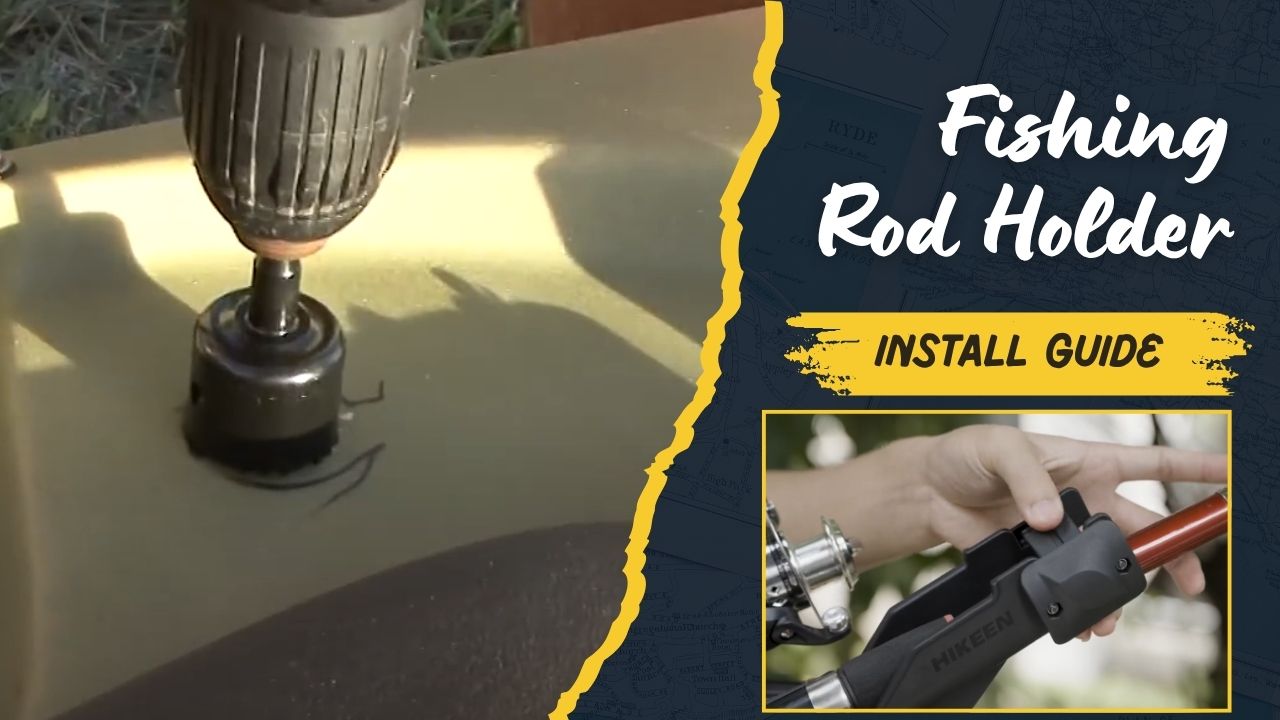
Kayak fishing is an incredible way to experience the water up close, combining adventure with a peaceful, stealthy approach to catching fish. But if you’re constantly juggling your rod while paddling or reaching for gear, it can become frustrating. One simple upgrade can transform your experience: adding a fishing rod holder to your kayak.
In this step-by-step guide, I’ll walk you through everything you need to know—from choosing the right rod holder to installing it correctly. Whether you’re a DIY enthusiast or a beginner, this guide will help you create a more organized, efficient, and enjoyable fishing setup.
Tools and Materials You’ll Need
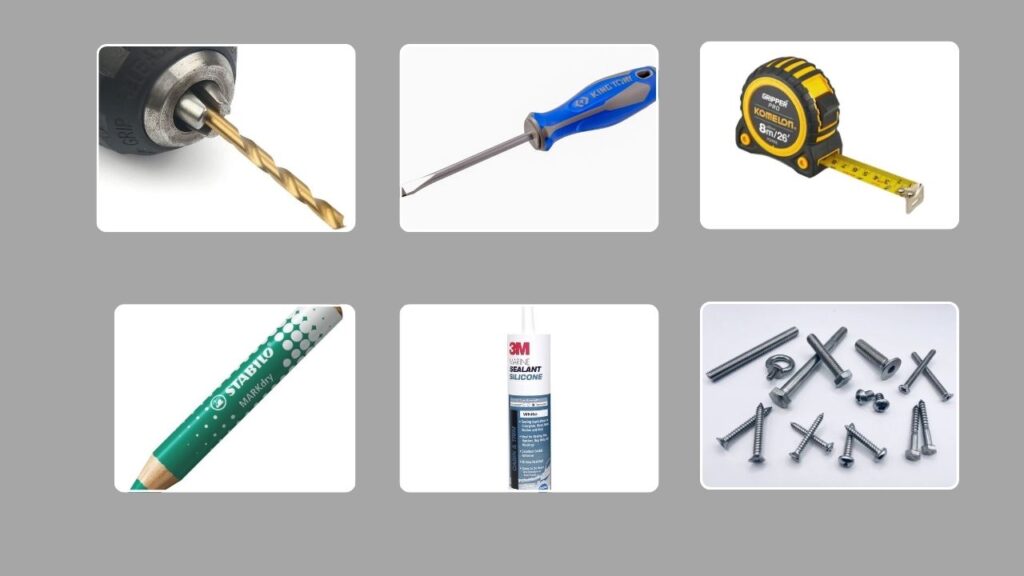
Before you start, gather these tools and supplies:
Basic Tools:
- Drill with appropriate bits (usually 1/8″ or 1/4″)
- Screwdriver (Phillips or flat-head depending on your hardware)
- Measuring tape
- Marker or pencil
- Marine-grade sealant (to waterproof screw holes)
- Stainless steel screws or rivets
Rod Holder Types:
There are a few common rod holder types for kayaks:
- Flush Mount Rod Holder: Installed into the surface of the kayak, great for a clean, low-profile setup.
- Deck Mount Rod Holder: Mounted on top of the kayak surface, usually adjustable.
- Clamp-On Rod Holder: Attaches without drilling, ideal for temporary setups or renters.
Choose the one that best fits your kayak’s design and your fishing style.
Choosing the Right Location
Installing your rod holder in the right spot makes all the difference. A poorly placed holder could hinder your paddling or make fishing uncomfortable.
Consider Accessibility and Comfort
The best position for a rod holder is within arm’s reach but out of your paddling zone. Most anglers prefer a placement just in front of the seat and slightly off to one side—typically the side opposite your dominant hand.
If you’re planning to troll, holders placed behind the seat may also be useful.
Check for Obstructions
Before you start drilling, look underneath the surface. You want to avoid areas with:
- Foot braces or adjustable pedals
- Internal wiring or rudder systems
- Hatch openings
If your kayak has an open hull, you may be able to reach inside to reinforce the area or access mounting bolts.
Preparing the Mounting Area
Once you’ve decided where to mount your rod holder, it’s time to prep.
Clean the Area
Use an alcohol wipe or marine cleaner to thoroughly clean the surface where the rod holder will be installed. This ensures good adhesion if you’re using sealant and helps prevent leaks.
Mark the Position
Place the rod holder in the desired location and use a marker to outline the base and drill holes. Double-check alignment from multiple angles to ensure it’s level and symmetrical.
Drilling and Mounting the Rod Holder
Now comes the hands-on part—mounting your rod holder securely.
Drill the Holes
Use a drill bit that matches the diameter of your screws or rivets. Drill slowly and steadily to avoid cracking the kayak’s plastic. If you’re installing a flush-mount holder, you’ll also need a hole saw to cut the central opening.
Tip: Wrap masking tape around the bit as a depth guide if needed.
Apply Sealant
Apply a generous amount of marine-grade sealant around each drilled hole. This step is crucial to prevent water from leaking into your kayak.
Secure the Rod Holder
Place the holder over the marked area and align it with the drilled holes. Insert your screws or rivets and tighten them securely.
Don’t overtighten—this can strip the plastic or damage the kayak.
Water Sealing and Safety Check
Now that your rod holder is installed, it’s time to ensure everything is watertight.
Check for Leaks
If you can access the inside of the kayak, pour a small amount of water around the rod holder and inspect from the interior for leaks. Alternatively, take your kayak for a short test float and check afterward.
Add Extra Protection
If any water seems to seep in, reapply sealant or use rubber gaskets beneath the mounting base. Some anglers also reinforce the area with a backing plate for extra durability.
Testing the Rod Holder on the Water
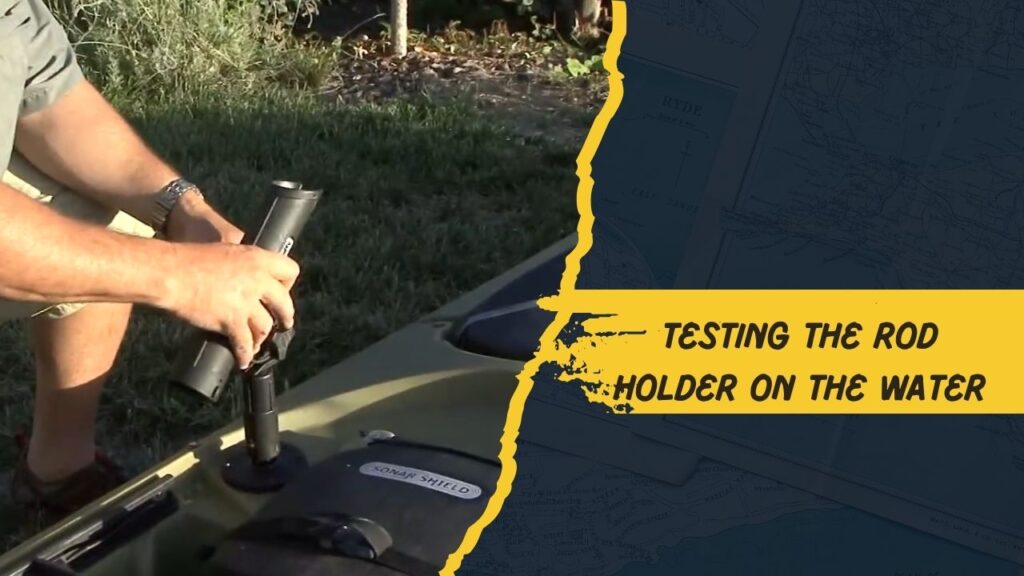
With installation complete, let’s see how it performs.
Insert a Rod and Simulate Use
While on dry land or shallow water, insert your fishing rod and simulate casting, trolling, and reeling. Make sure the angle is right and that it doesn’t interfere with your paddle strokes or seating posture.
Adjust if Needed
If it’s hard to reach or feels awkward, you might consider:
- Installing a second holder in a better spot
- Adding a rod holder extension
- Switching to an adjustable deck mount holder
Optional Upgrades
Once you’ve experienced the convenience of one rod holder, you might want to go further.
Add Multiple Holders
Install rod holders on both sides or behind the seat. This allows you to carry multiple rods with different lures or lines, or to troll while paddling.
Install Adjustable Holders
Some deck mounts rotate or tilt, letting you customize the rod angle. These are perfect for adapting to different fishing styles, like trolling or still casting.
FAQs
1. Can I install a rod holder without drilling?
Yes, clamp-on or track-mount rod holders require no drilling and are ideal for rental kayaks or temporary setups.
2. What’s the best type of holder for trolling?
Deck mount or adjustable rod holders are best for trolling since you can change the angle and direction as needed.
3. Will adding a rod holder affect my kayak’s stability?
No, a single rod holder has negligible impact. However, placement matters—avoid locations that obstruct paddling or create imbalance.
4. How do I remove a rod holder if I change my mind?
Unscrew the holder, clean off sealant, and patch the holes with waterproof marine putty or plastic welding kits.
5. Are rod holders universal fit for all kayaks?
Most are designed to fit standard kayaks, but always check your kayak’s material, thickness, and internal layout before choosing.
Final Thoughts
Installing a fishing rod holder on your kayak is a smart, affordable upgrade that dramatically enhances your fishing experience. Whether you’re a seasoned angler or just getting started, having a secure place for your rod frees up your hands and helps you focus on landing that next big catch.
Take your time to plan, double-check each step, and you’ll have a professional-looking rod holder that will last for years. Happy paddling and tight lines!