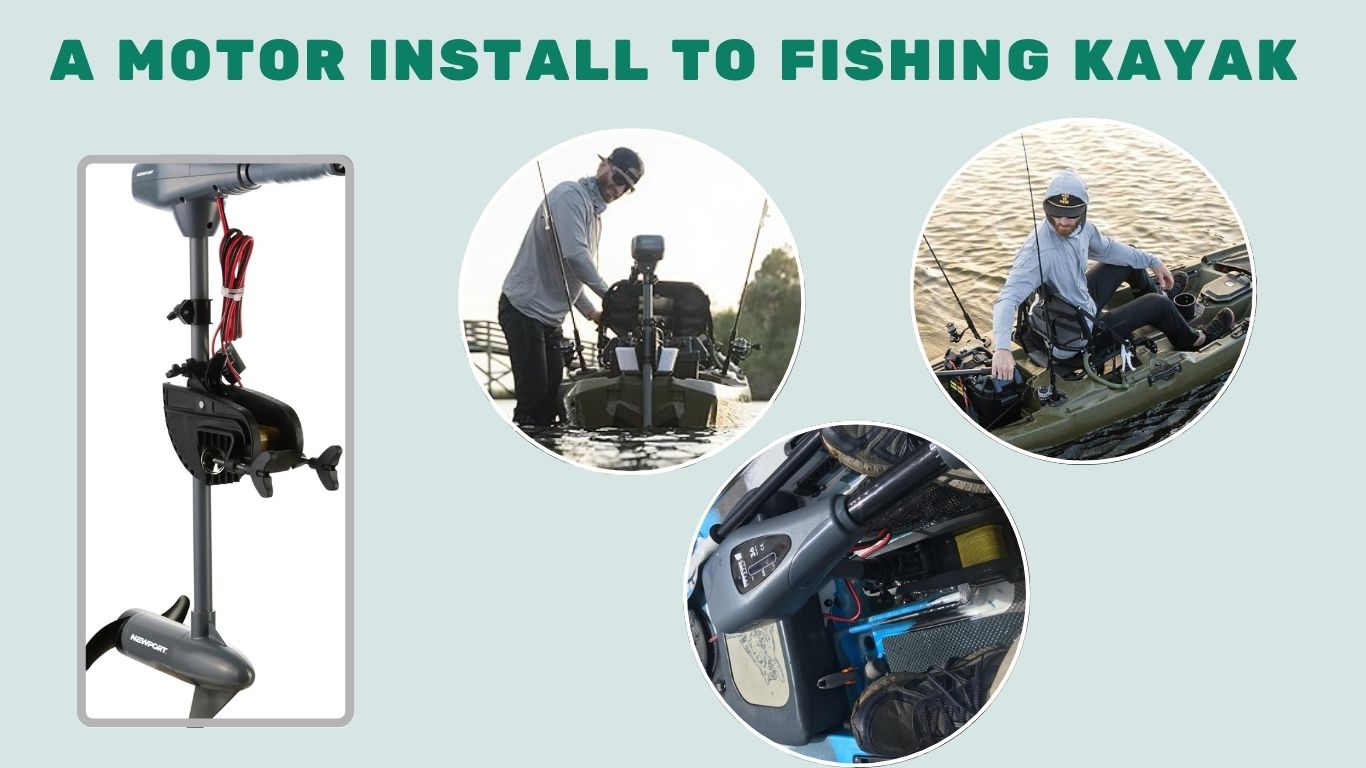
Motorizing your fishing kayak can completely transform your experience on the water. Instead of paddling long distances or battling currents, a motor allows you to cover more ground quickly, conserve energy, and stay focused on catching fish. Whether you’re planning to install an electric trolling motor or a small gas-powered engine, it’s essential to follow a proper process to ensure safety, efficiency, and long-term performance.
This step-by-step guide will walk you through everything — from choosing the right motor and mounting system to installing the motor, wiring the battery, and balancing your kayak for smooth operation. Whether you’re a beginner or a seasoned angler upgrading your setup, this guide will help you do it right the first time.
Types of Motors for Fishing Kayaks
Before installation, it’s important to know which type of motor best suits your kayak and fishing needs. The two main options are electric trolling motors and gasoline outboard motors. Each has unique pros, cons, and setup requirements.
Trolling Motors
- Powered by electricity, typically using a 12V or 24V battery.
- Ideal for stealth fishing in lakes, rivers, and shallow waters.
- Lightweight, quiet, and easier to maintain than gas motors.
- Thrust ranges between 30 to 55 lbs are usually suitable for most kayaks.
Gasoline Outboard Motors
- Use small fuel engines, offering more power and speed.
- Suitable for larger lakes, bays, or coastal areas.
- Heavier and noisier but excellent for long-distance travel.
- Require additional safety precautions and regular maintenance.
Choosing the Right Motor for Your Kayak
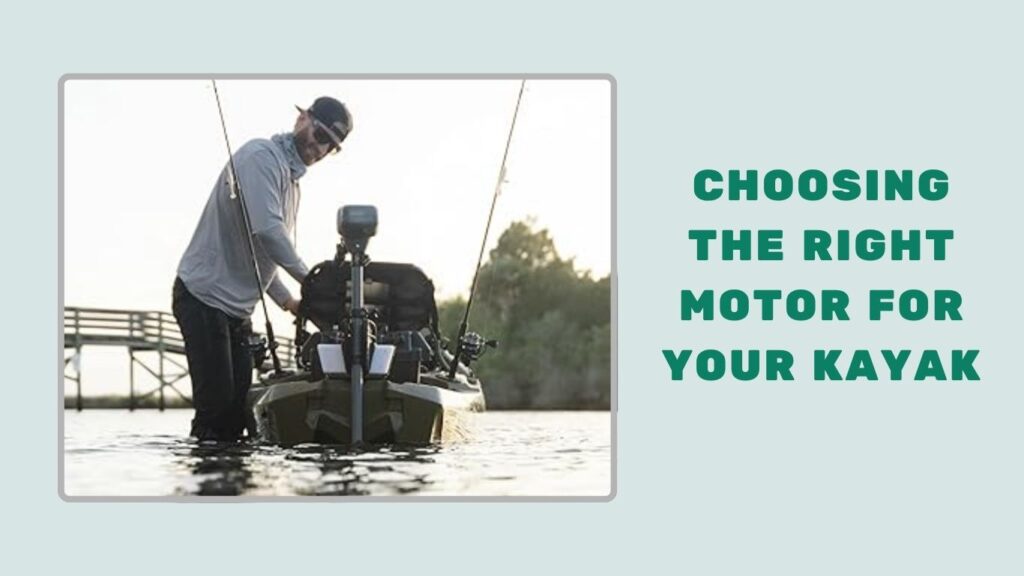
Not all motors work well with all kayaks. Factors such as kayak size, weight capacity, and water conditions play a role in selecting the ideal motor setup.
Motor Weight and Thrust Compatibility
- Match the motor’s thrust power to the weight of your kayak (including gear and yourself).
- A 30–45 lb thrust motor is often enough for small- to medium-sized kayaks.
- Avoid overpowered motors that can destabilize your kayak or drain batteries too quickly.
Battery Type (for Electric Motors)
- Lead-Acid Deep Cycle Batteries: Affordable and widely used but heavier.
- Lithium-Ion Batteries: Lightweight and long-lasting but more expensive.
- Make sure the battery’s amp-hour rating can support your typical outing duration.
- Always use marine-grade batteries for safety and performance.
Tools and Materials You’ll Need
Before you start drilling or wiring, gather all necessary tools and materials. Having everything ready will make the installation process smoother and prevent unnecessary delays.
Essential Tools
- Cordless drill with bits
- Screwdriver (Phillips and flathead)
- Adjustable wrench or socket set
- Marine-grade sealant or silicone
- Wire strippers and electrical tape
- Zip ties and clamps
- Measuring tape and marker
Materials & Hardware
- Motor mounting bracket (compatible with your kayak model)
- Trolling or gas motor
- Marine battery (if electric)
- Waterproof battery box
- Inline fuse kit and wiring harness
- On/off power switch or throttle controller
Motor Mounting Options
There are several ways to mount a motor on your kayak. The choice depends on your kayak’s design, the motor type, and your personal preferences for control and balance.
Transom Mount
- Installed on the rear (stern) of the kayak.
- Most common option and compatible with many trolling motors.
- Best for stability and ease of access.
Side Mount
- Mounted on the side of the kayak, near your seating position.
- Allows easy throttle control and visibility.
- Can affect tracking and balance if not aligned correctly.
Bow Mount
- Placed on the front (bow) of the kayak.
- Rare for kayaks, but useful for precise control in fishing kayaks with pedal steering.
DIY Motor Mounts
- PVC pipe frames, aluminum brackets, or wood platforms.
- Budget-friendly and customizable, but require careful balancing and waterproofing.
Step-by-Step Installation Process
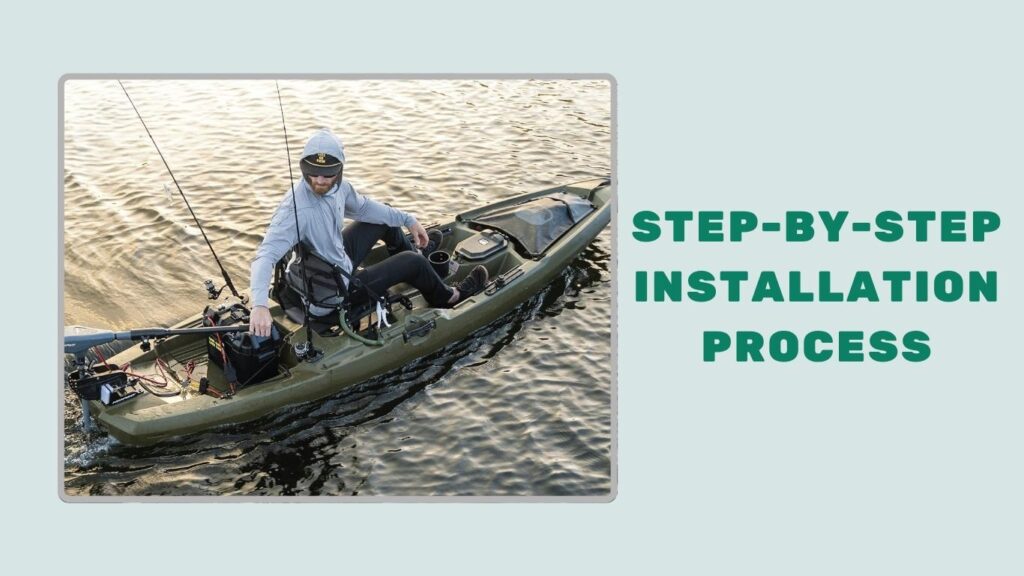
Installing a motor on your fishing kayak involves careful planning, drilling, wiring, and testing. Follow these steps to ensure a secure and functional setup.
Position and Install the Mount
Start by identifying the best location for your motor — usually the rear or side of the kayak. Use a marker to outline where the mount will go. Drill pilot holes and secure the mounting bracket using stainless steel bolts and marine sealant to prevent water leakage.
Attach the Motor
Once the mount is secure, attach the motor by clamping or bolting it to the bracket. Adjust the shaft length so the propeller sits about 6–10 inches below the waterline. Make sure the motor is centered and straight to ensure proper tracking.
Wiring and Battery Setup
- Connect the motor to the battery using a marine-grade wiring harness.
- Install an inline fuse between the battery and motor for safety.
- Mount the battery in a waterproof box and place it near the kayak’s center for balance.
- Use zip ties to secure loose wires and keep them away from foot space or water.
Water-Sealing and Testing
Apply marine sealant to all drilled areas and wiring exits. Once everything is secure, test the motor on land to check the throttle and direction. After confirming proper function, test the kayak in shallow water before heading out for a full trip.
Battery and Power Management Tips
An efficient power setup ensures that your motor performs well without leaving you stranded mid-trip.
Battery Placement and Balance
Placing the battery too far back can unbalance the kayak. Instead, aim for a central position — such as behind your seat — to maintain even weight distribution. Secure it tightly with straps or a battery box to prevent shifting during movement.
Maintenance and Charging
- Charge the battery fully after each use.
- Use a smart charger to prevent overcharging.
- Inspect terminals regularly for corrosion.
- Keep spare fuses or connectors in your gear kit in case of failures on the water.
Smart battery placement and regular checks help extend battery life and keep your motor running smoothly during every fishing trip.
Balancing Your Kayak After Motor Installation
Adding a motor and battery can change the weight dynamics of your kayak, potentially affecting stability and maneuverability. Proper balance is key to safe and smooth paddling (or motoring).
Weight Distribution
If the motor and battery are both at the rear, the kayak may become stern-heavy and sluggish to control. To fix this:
- Move the battery closer to the center or slightly forward.
- Balance the kayak by adjusting your seat or redistributing gear (cooler, tackle box, etc.).
- Use ballast weights or water jugs in the bow if needed to counter rear heaviness.
A well-balanced kayak will track straight, respond better to steering, and feel more stable — especially in choppy waters.
Legal and Safety Considerations
Using a motorized kayak introduces certain legal requirements and safety responsibilities that vary by location. Ignoring these rules can lead to fines or unsafe situations.
Registration and Licensing
- In many states and countries, a motorized kayak must be registered like a small boat — even with an electric motor.
- You may need a visible registration number or sticker on the hull.
- Some regions require an operator license or safety course for motorized vessels.
Safety Equipment Requirements
While paddling may only require a life jacket, a motorized kayak might legally require:
- U.S. Coast Guard–approved PFD (personal flotation device)
- Sound-producing device (like a whistle)
- Navigation lights (if operating at dawn, dusk, or night)
- Fire extinguisher (for gas-powered setups)
Always check your local waterway regulations before heading out to ensure full compliance and safe operation.
Maintenance and Long-Term Care
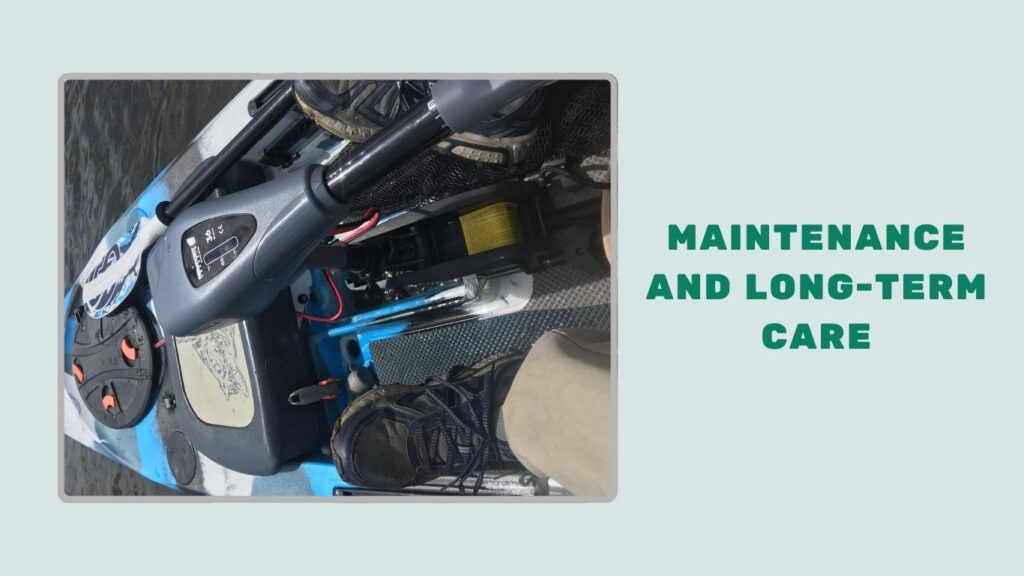
Keeping your motor and electrical components in good shape ensures a longer lifespan and consistent performance during your fishing adventures.
Cleaning After Use
- Rinse the motor and battery terminals with fresh water, especially after saltwater use.
- Dry all electrical components thoroughly before storing.
Routine Inspections
- Check bolts, clamps, and wiring before and after each trip.
- Inspect propeller blades for debris, wear, or cracks.
Winterizing and Storage
- Remove the motor and battery when storing for long periods.
- Store the battery in a dry, temperature-controlled area.
- Apply light oil or lubricant to moving parts to prevent corrosion.
Common Mistakes to Avoid
Even small mistakes can lead to poor performance or safety risks. Avoid these common errors:
- Overpowering the Kayak: Using a motor that’s too strong can affect stability and may damage your kayak.
- Skipping Sealant: Not sealing drill holes or wiring entry points can lead to water leaks and electrical issues.
- Poor Wiring: Loose or exposed wires increase the risk of shorts or battery drain.
- Ignoring Balance: Improper weight distribution can make the kayak unstable, especially in windy or rough conditions.
- Not Testing Before Use: Always test the setup in shallow water before committing to longer trips.
FAQs
1. Do all kayaks support motor installation?
Not all kayaks are designed for motors. Sit-on-top fishing kayaks with flat sterns or rail mounts are most compatible. Lightweight recreational kayaks may not handle the added weight safely.
2. Can I use a car battery for my kayak motor?
No. Car batteries are not made for deep discharge and can be damaged quickly. Use deep-cycle marine batteries for consistent, safe performance.
3. How fast will my kayak go with a trolling motor?
Most trolling motors provide speeds of 3–5 mph depending on thrust, load, and water conditions. It’s ideal for fishing and exploring but not racing.
4. Do I need to reinforce my kayak for mounting?
In many cases, no. However, for heavier motors or DIY mounts, reinforcing the mounting area with additional backing plates or marine-grade material can prevent cracking or stress damage.
5. How long does a motorized kayak battery last?
Battery life depends on amp-hour rating, motor speed settings, and water conditions. Typically, a 100Ah battery can power a 30–45 lb thrust motor for 4–8 hours of continuous use at moderate speed.